Seagull 1963 watch
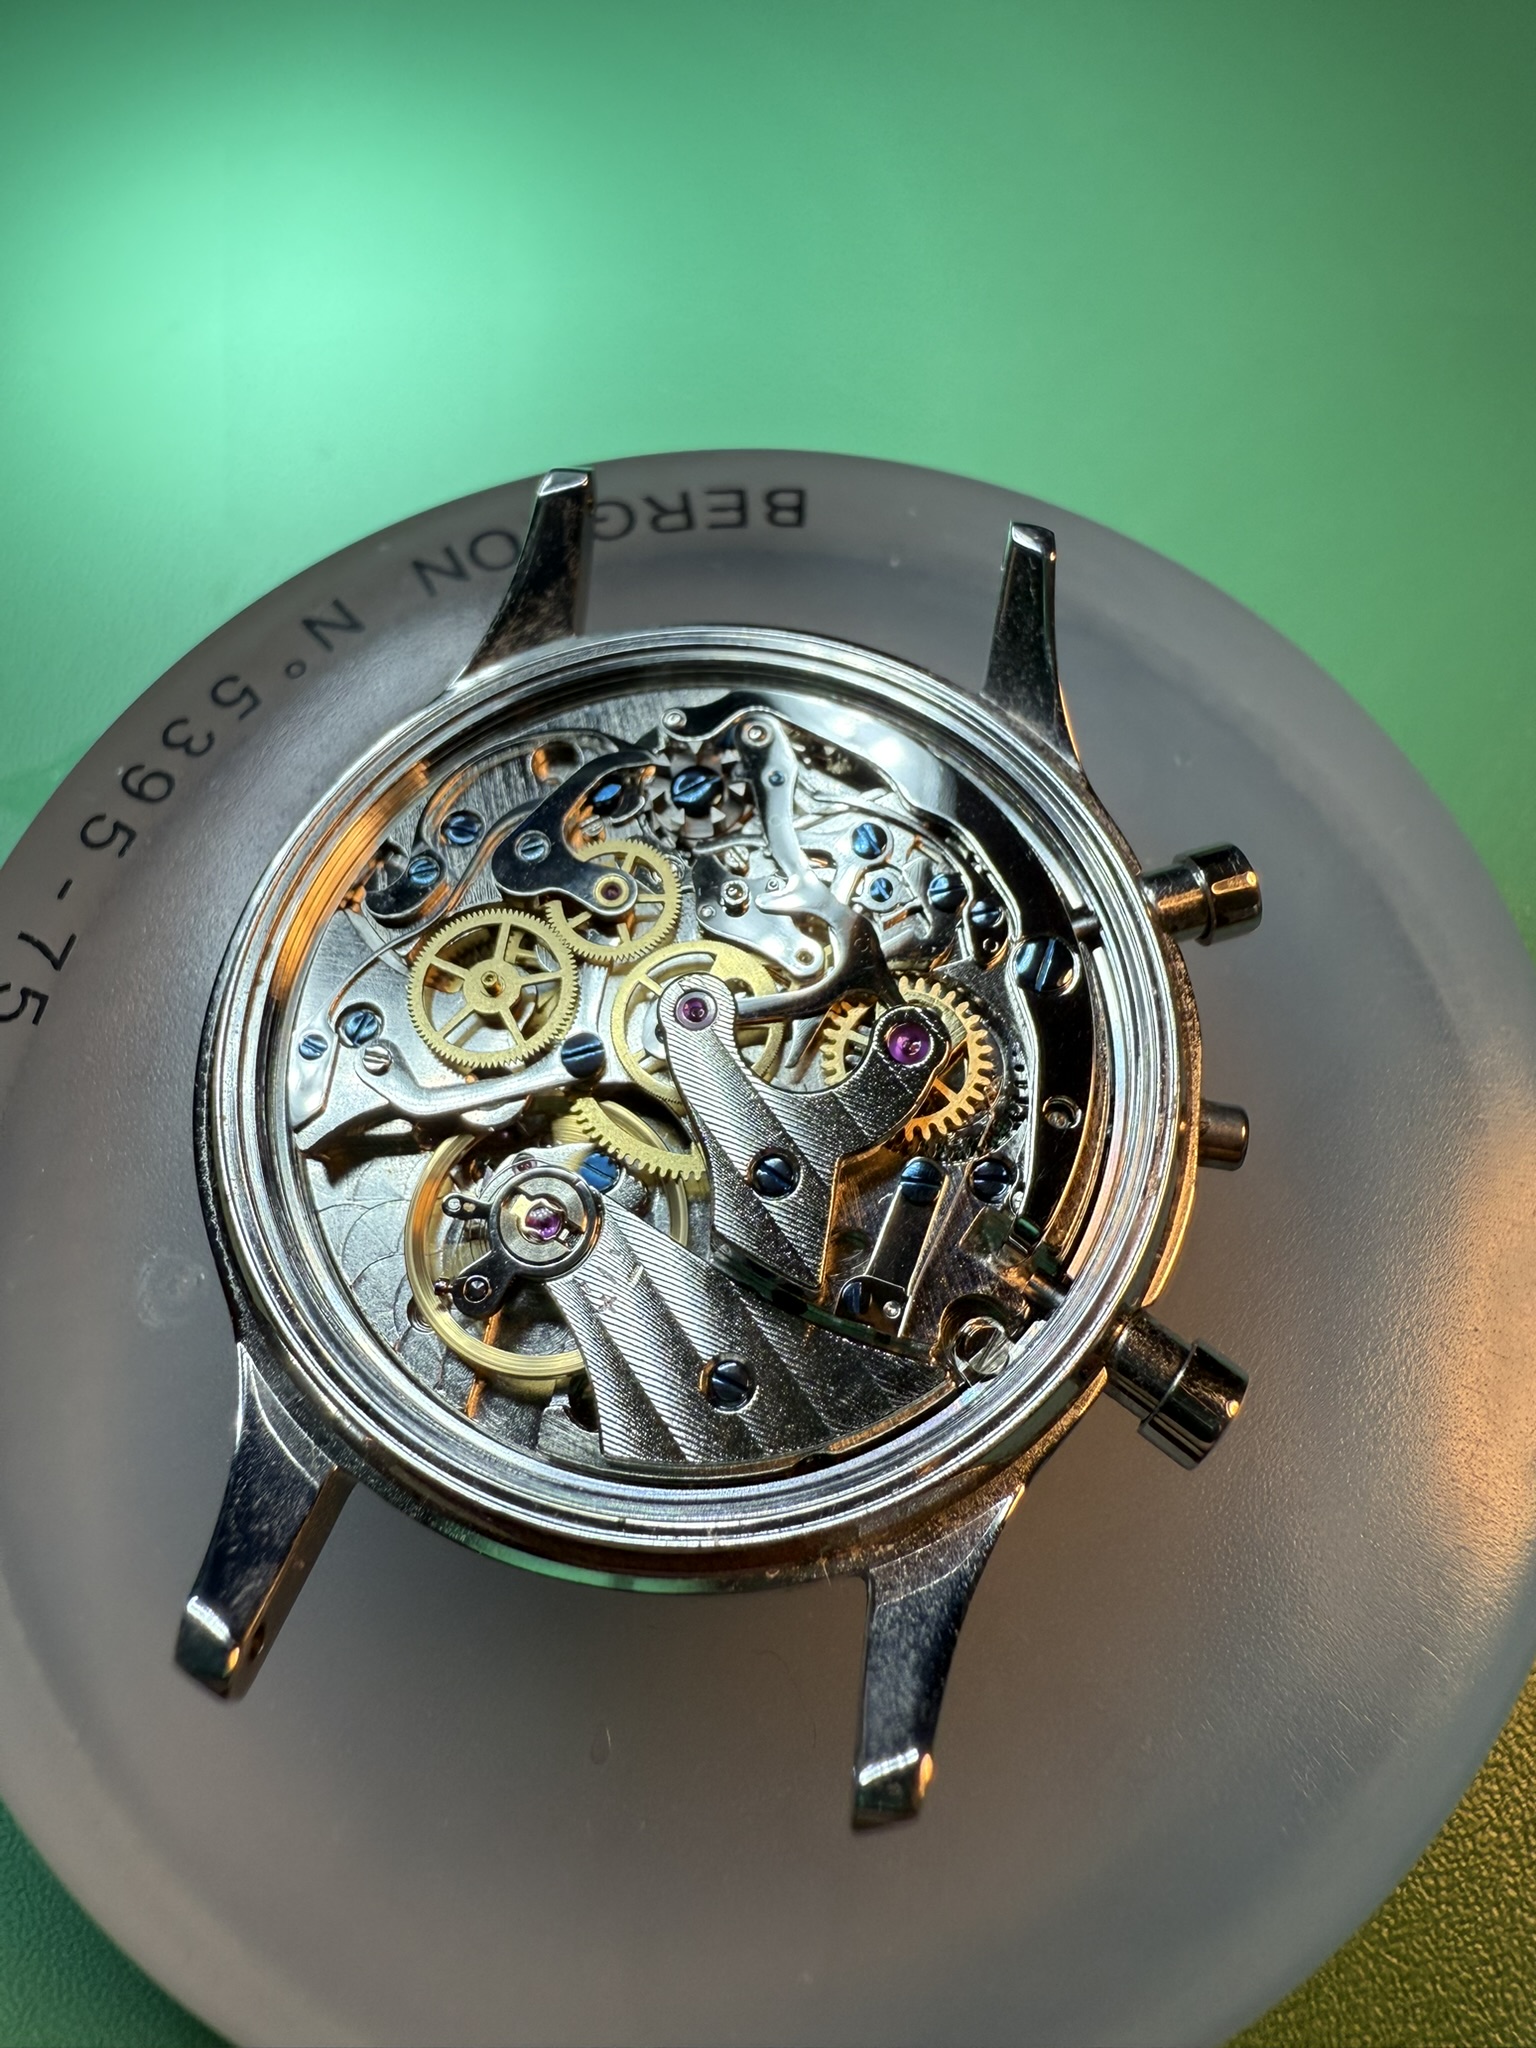
I got this Seagull 1963 watch solely to practice on the ST1901 movement
because it's part of Mark Lovick's chronograph course. Can we take a
moment to marvel at the fact that Seagull can produce and ship a
mechanical column wheel chronoraph in a proper case with sapphire
crystal and caseback for around €120??
The watch was running when I got it.
| Position | Rate [spd] | Amplitude [°] | Beat error [ms] | Note |
|---|---|---|---|---|
| DU | 17 | 324 | - | - |
| DD | 16 | 322 | - | - |
| CR | 6 | 300 | - | - |
| CL | 0 | 290 | - | - |
Disassembly and fault finding
I didn't take many notes during disassembly since I had Mark's course to
go off. As with the PT-5000, most of the
parts look the part, but the oiling leaves something to be desired. Many
parts of this movement were bone dry. Also, the case and parts of the
main plate have burrs from drilling.
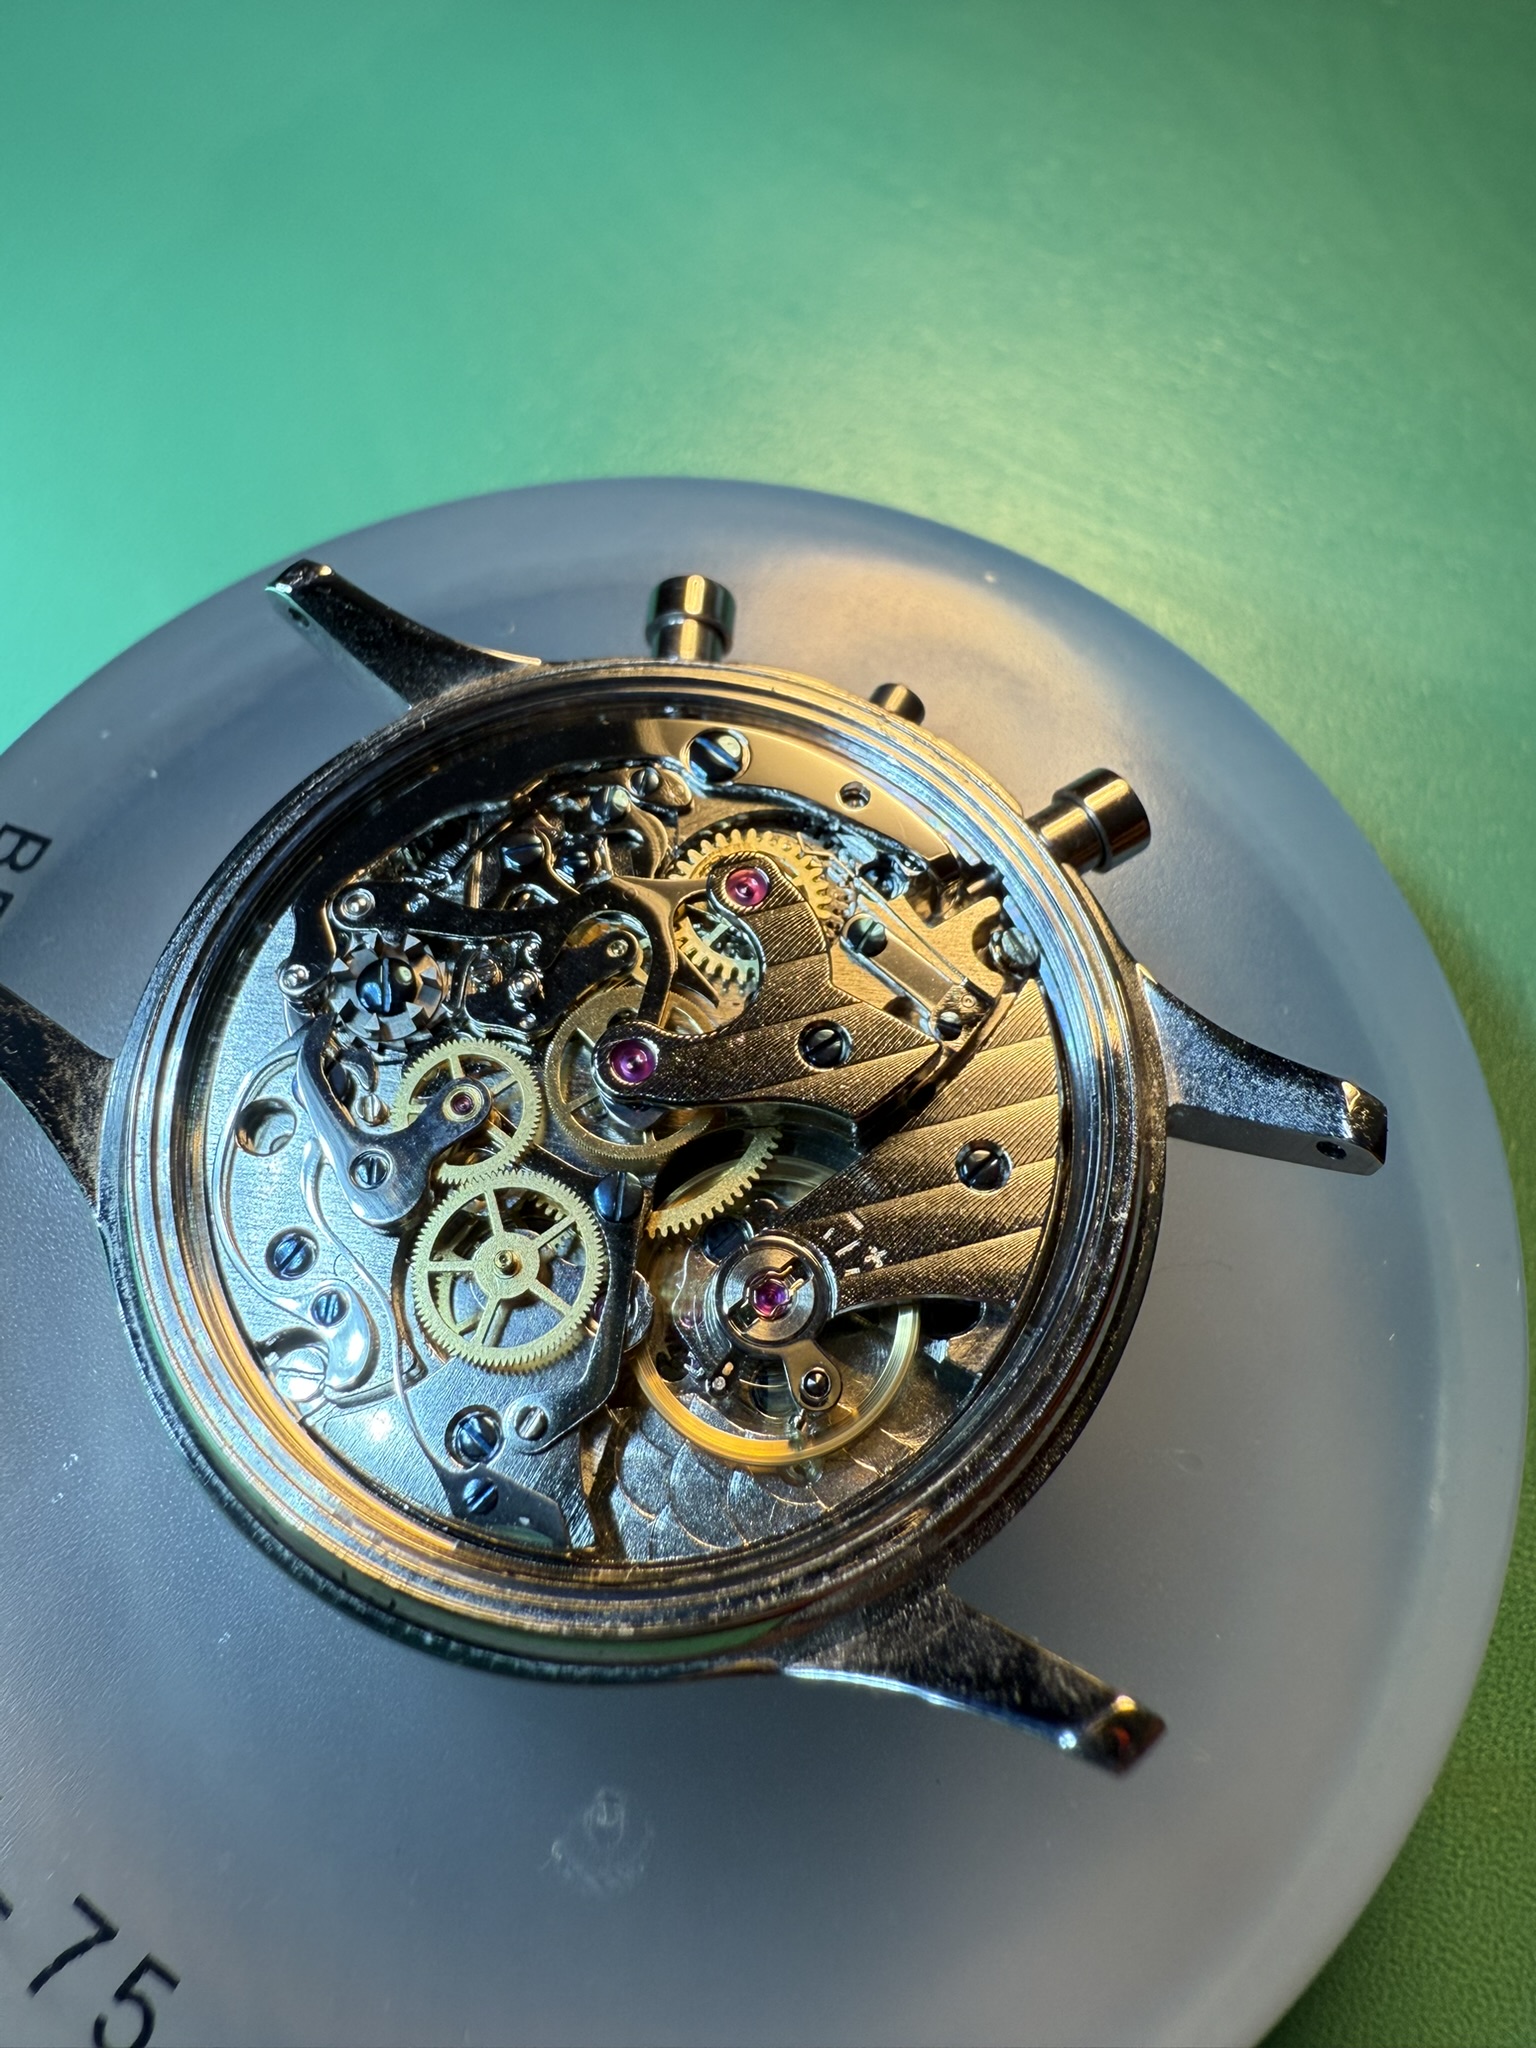
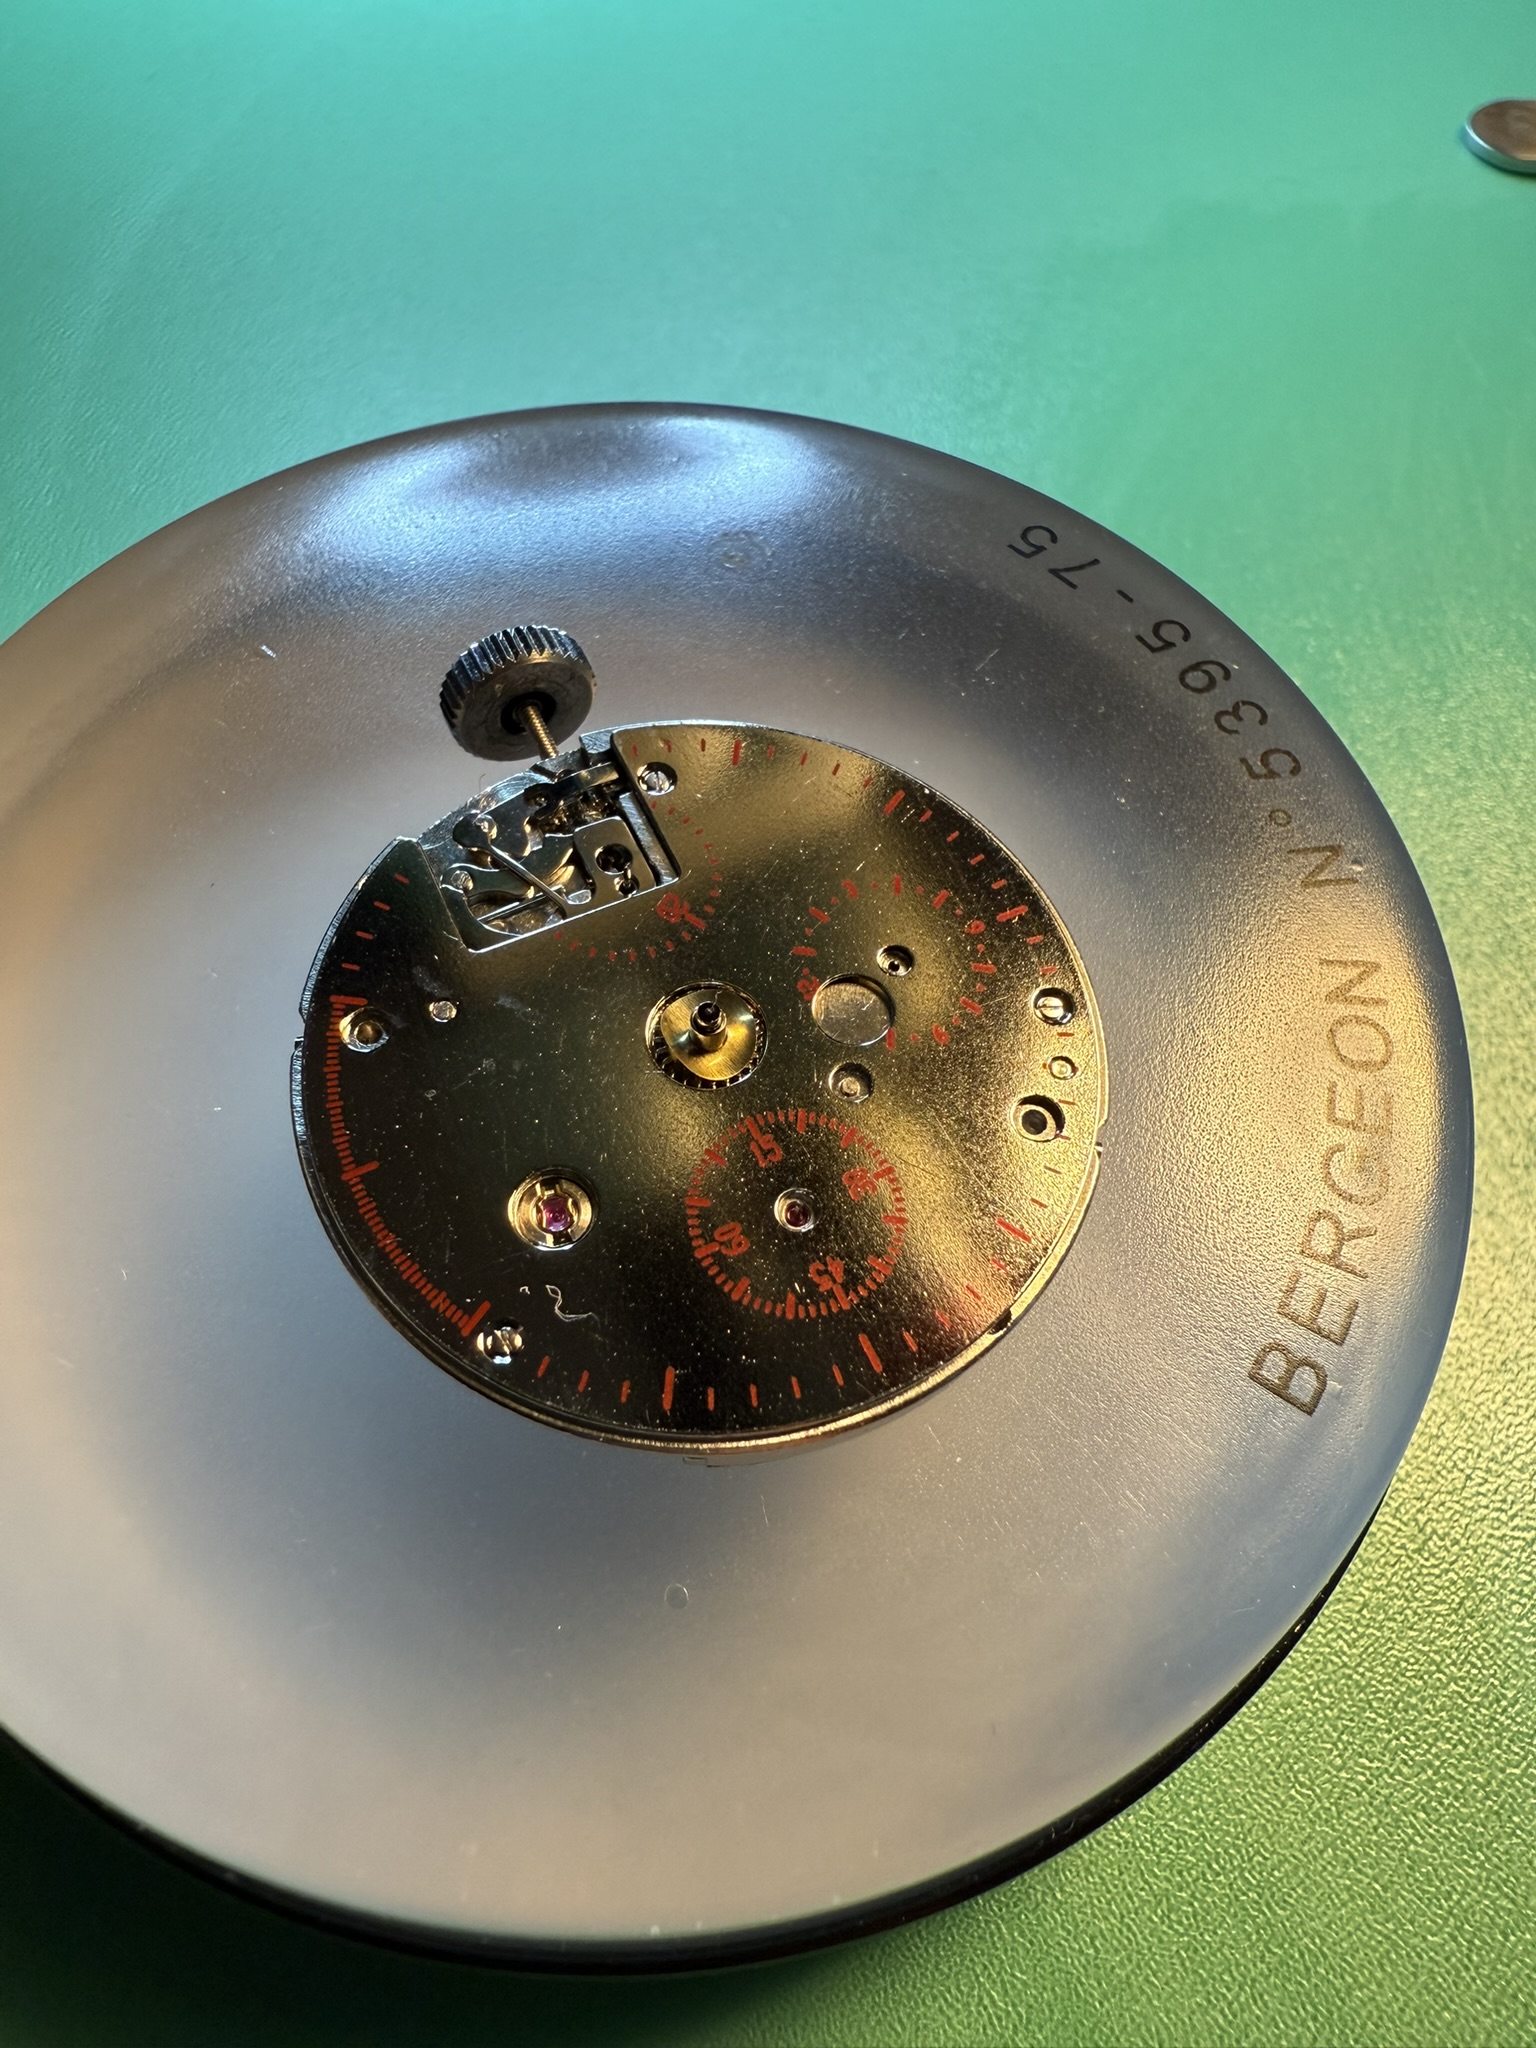
I was having problems removing the chronograph driving wheel (friction
fit on the fourth wheel). My pin vice did not want to grab it. I caved
and procured the Bergeon presto tool for removing five spoke wheels but
was very disappointed that it couldn't find purchase on the teeny tiny
bridge that holds the fourth wheel pivot and escape wheel. I honestly
don't know how you're supposed to remove this wheel "properly" without
resorting to the scalpel trick. TODO: rewatch
that part of the course...
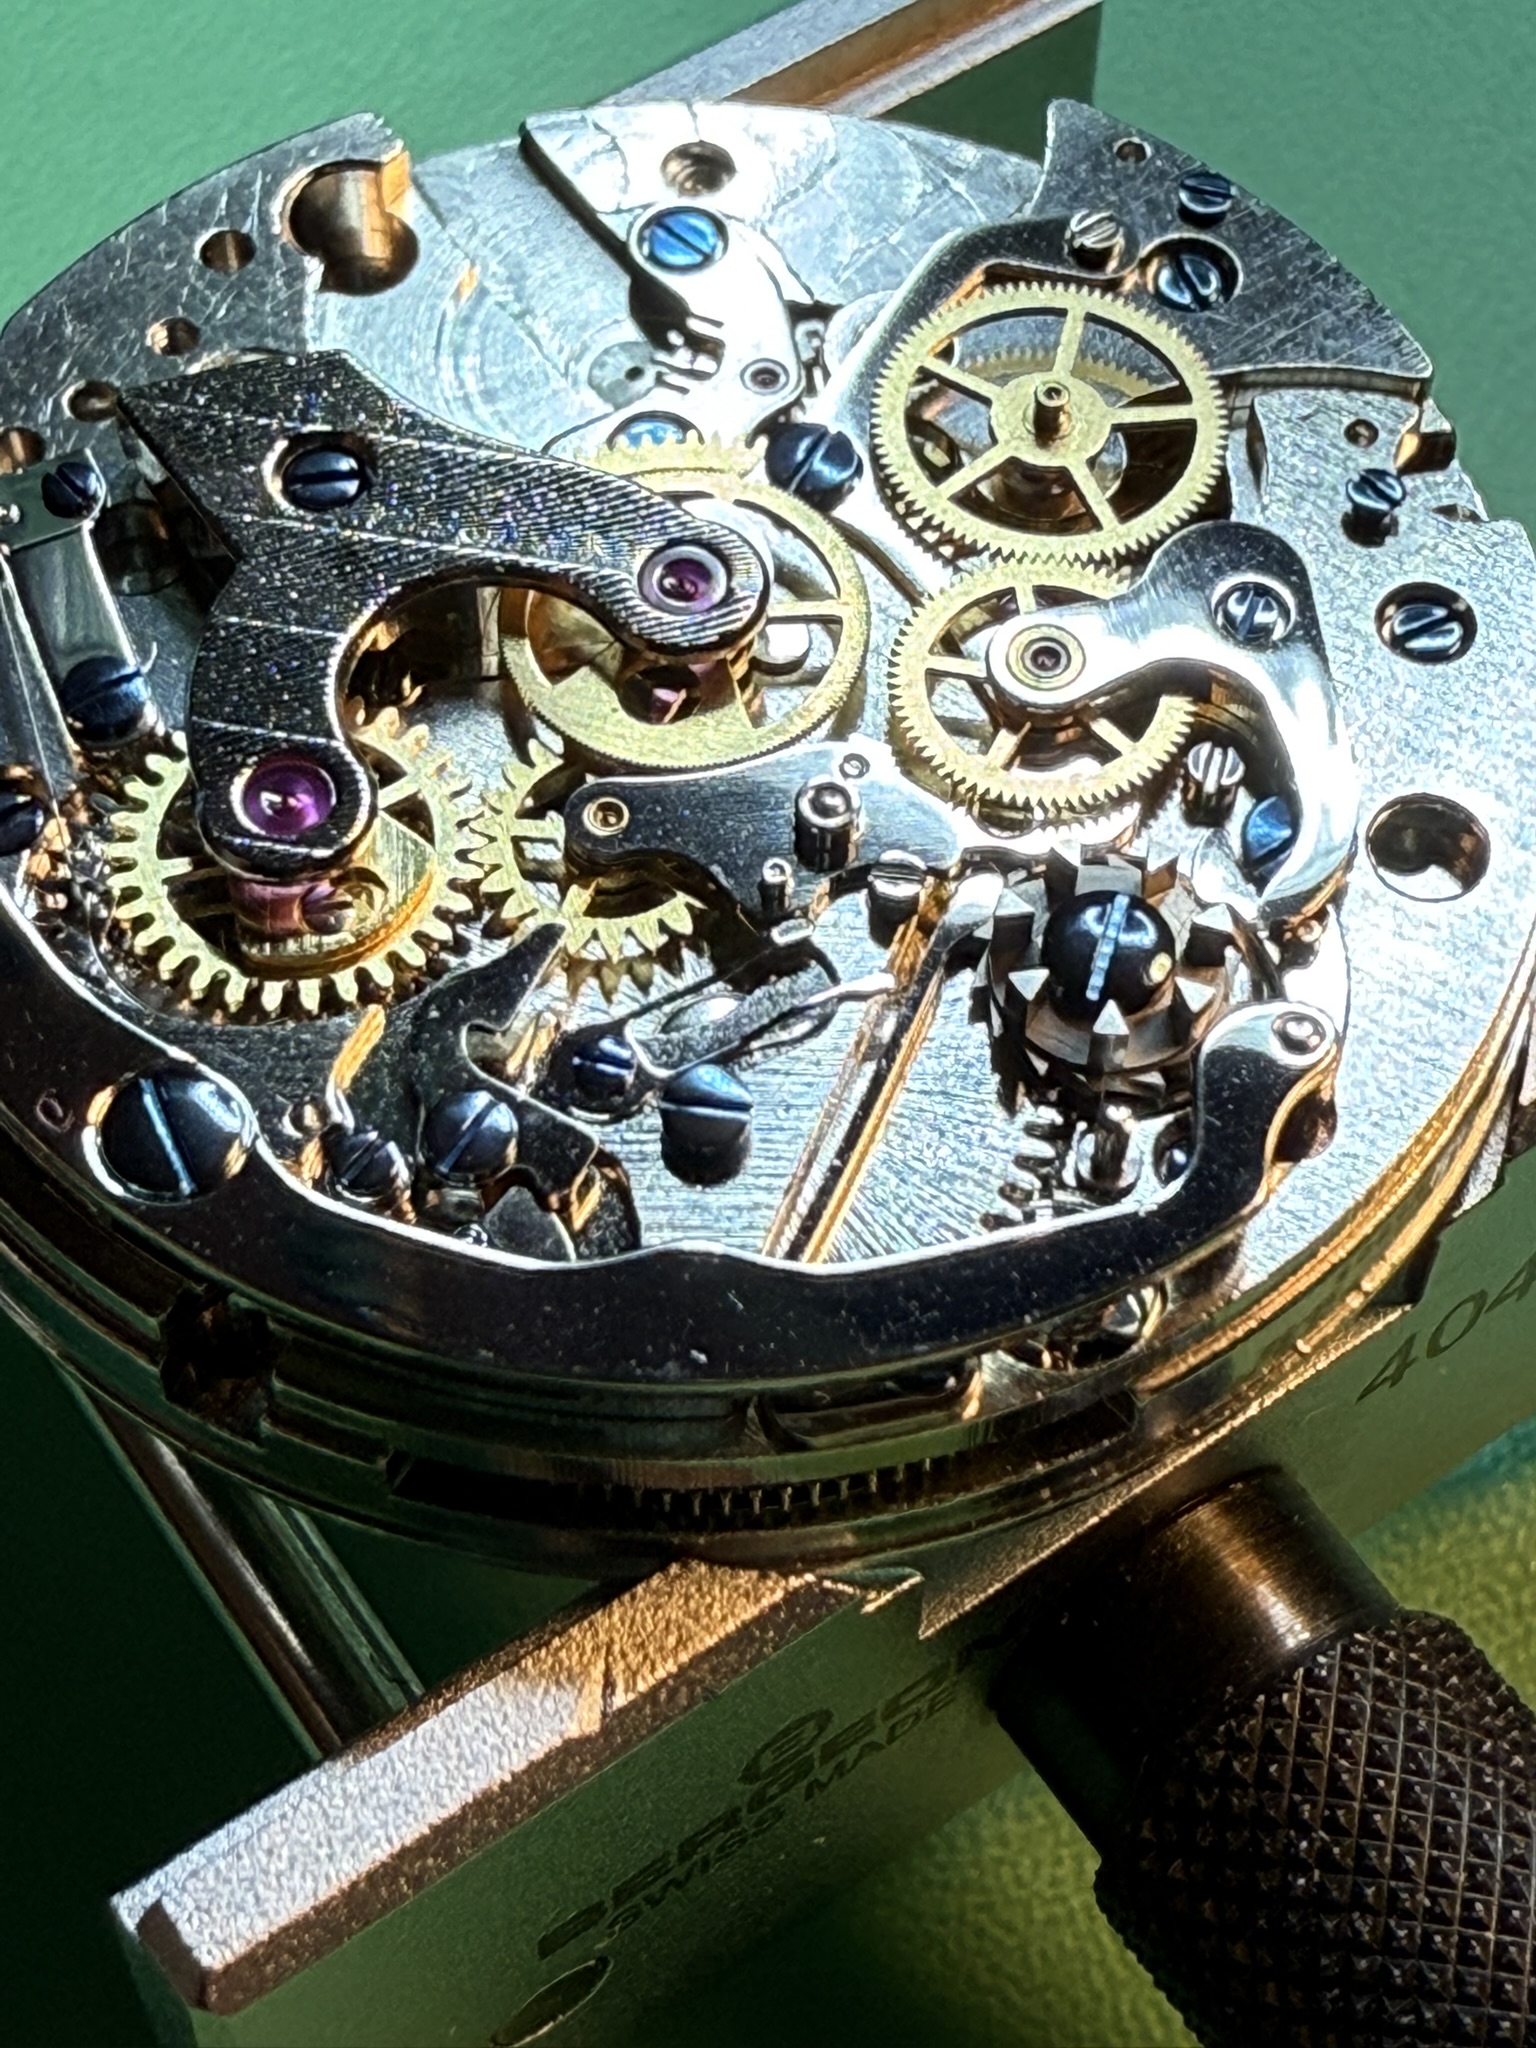
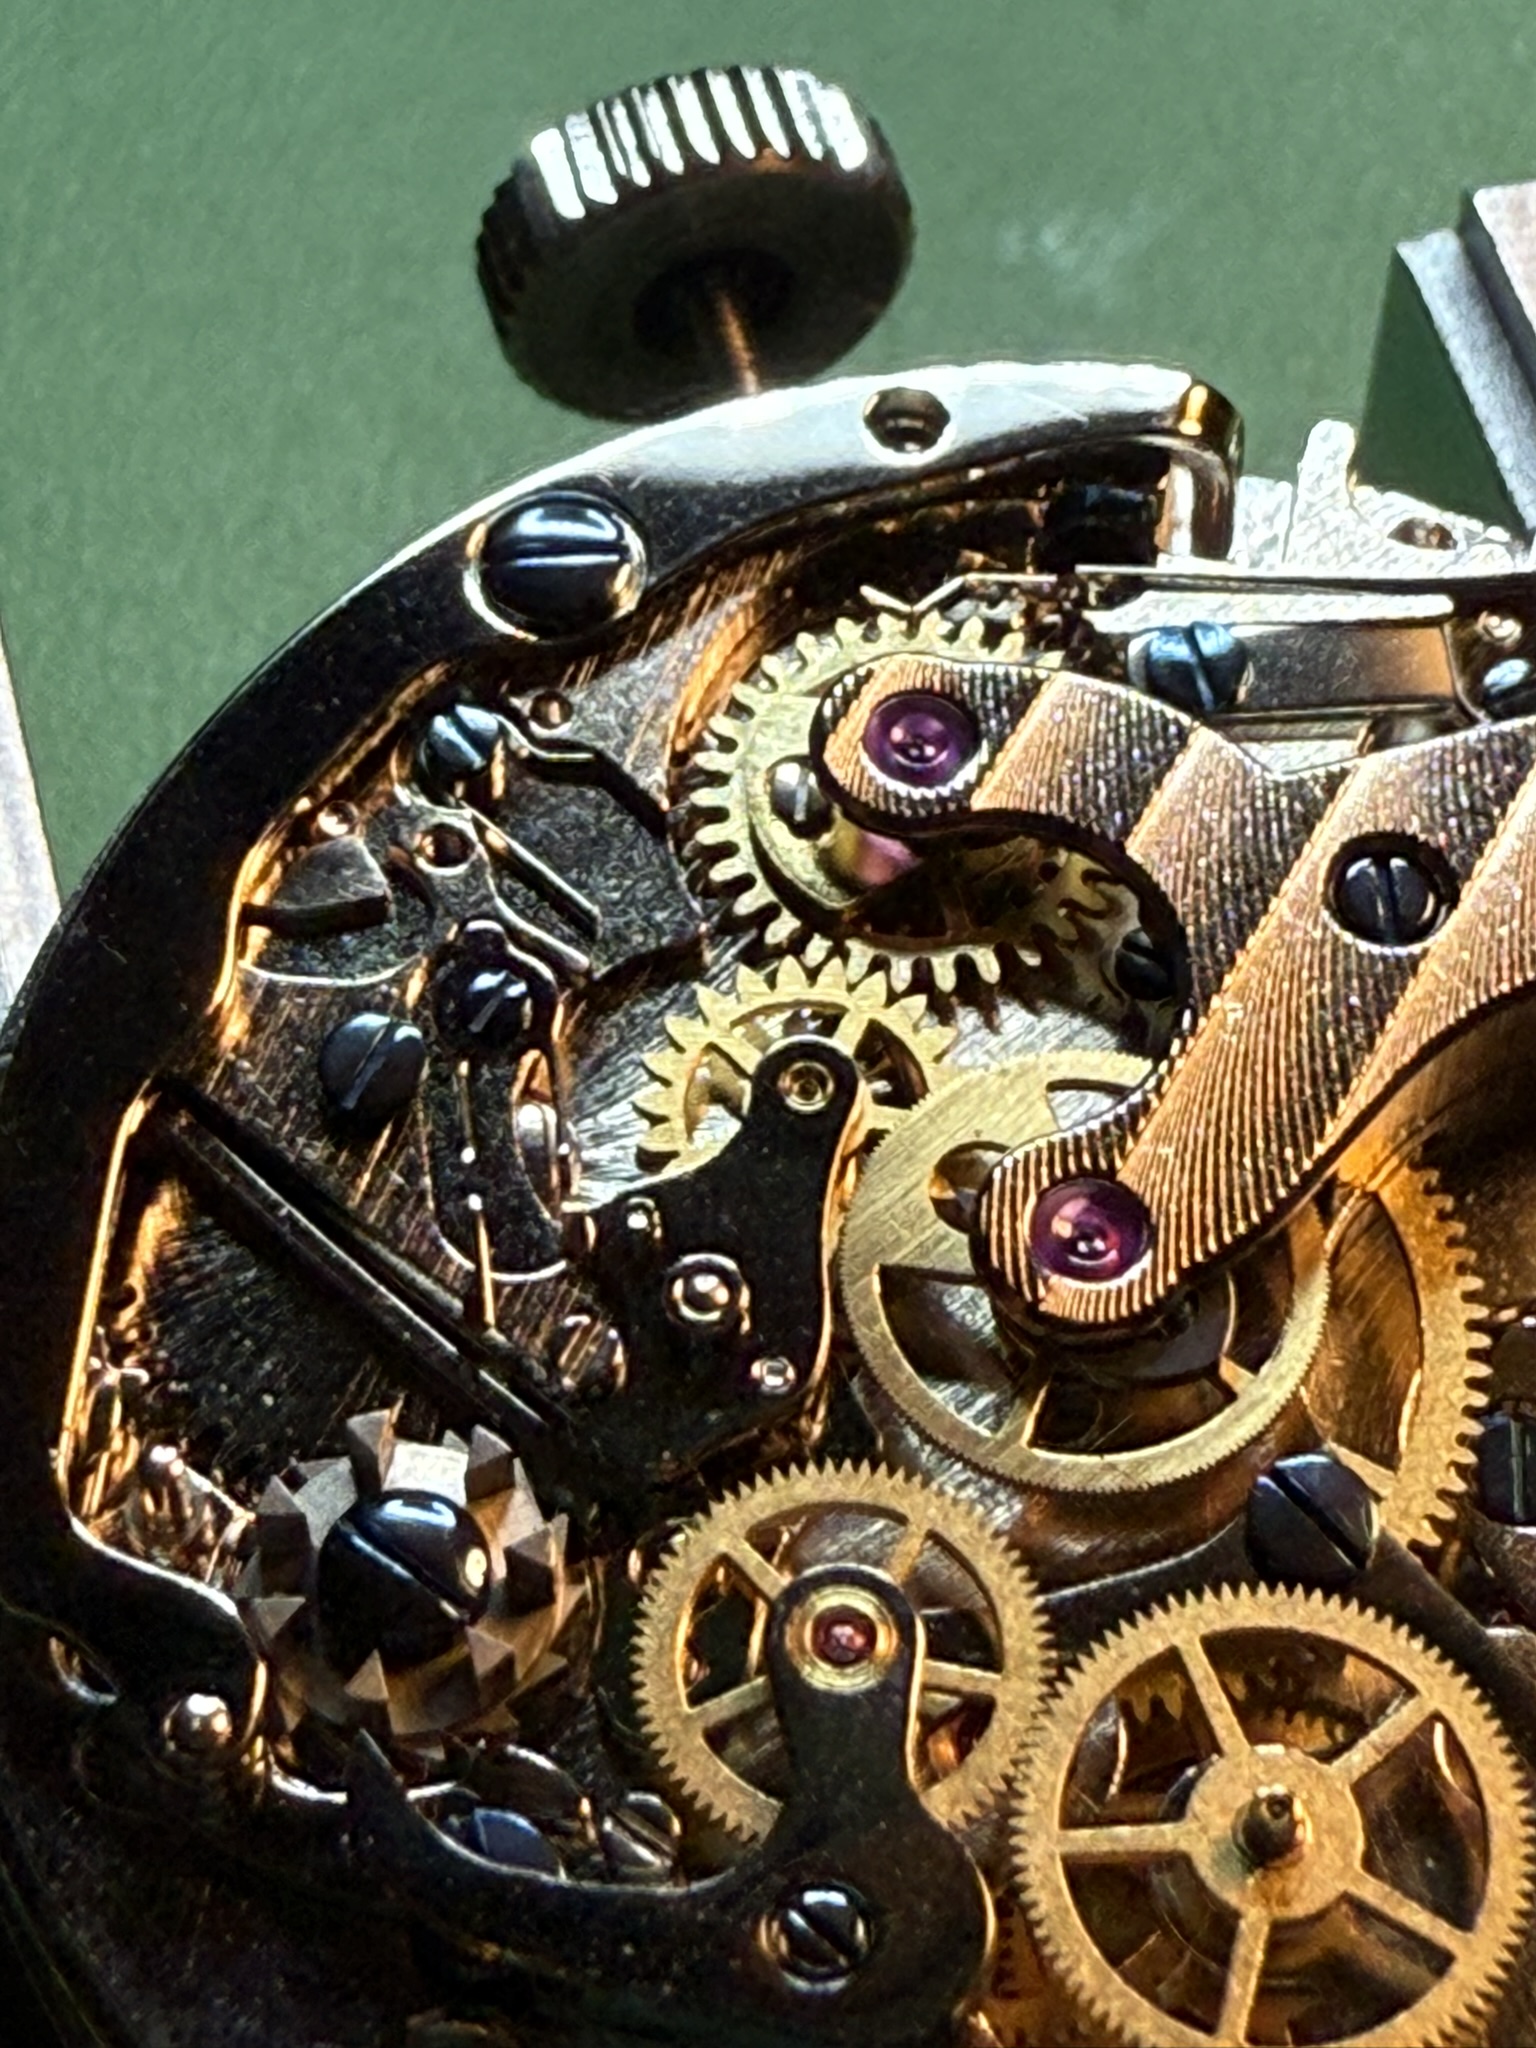
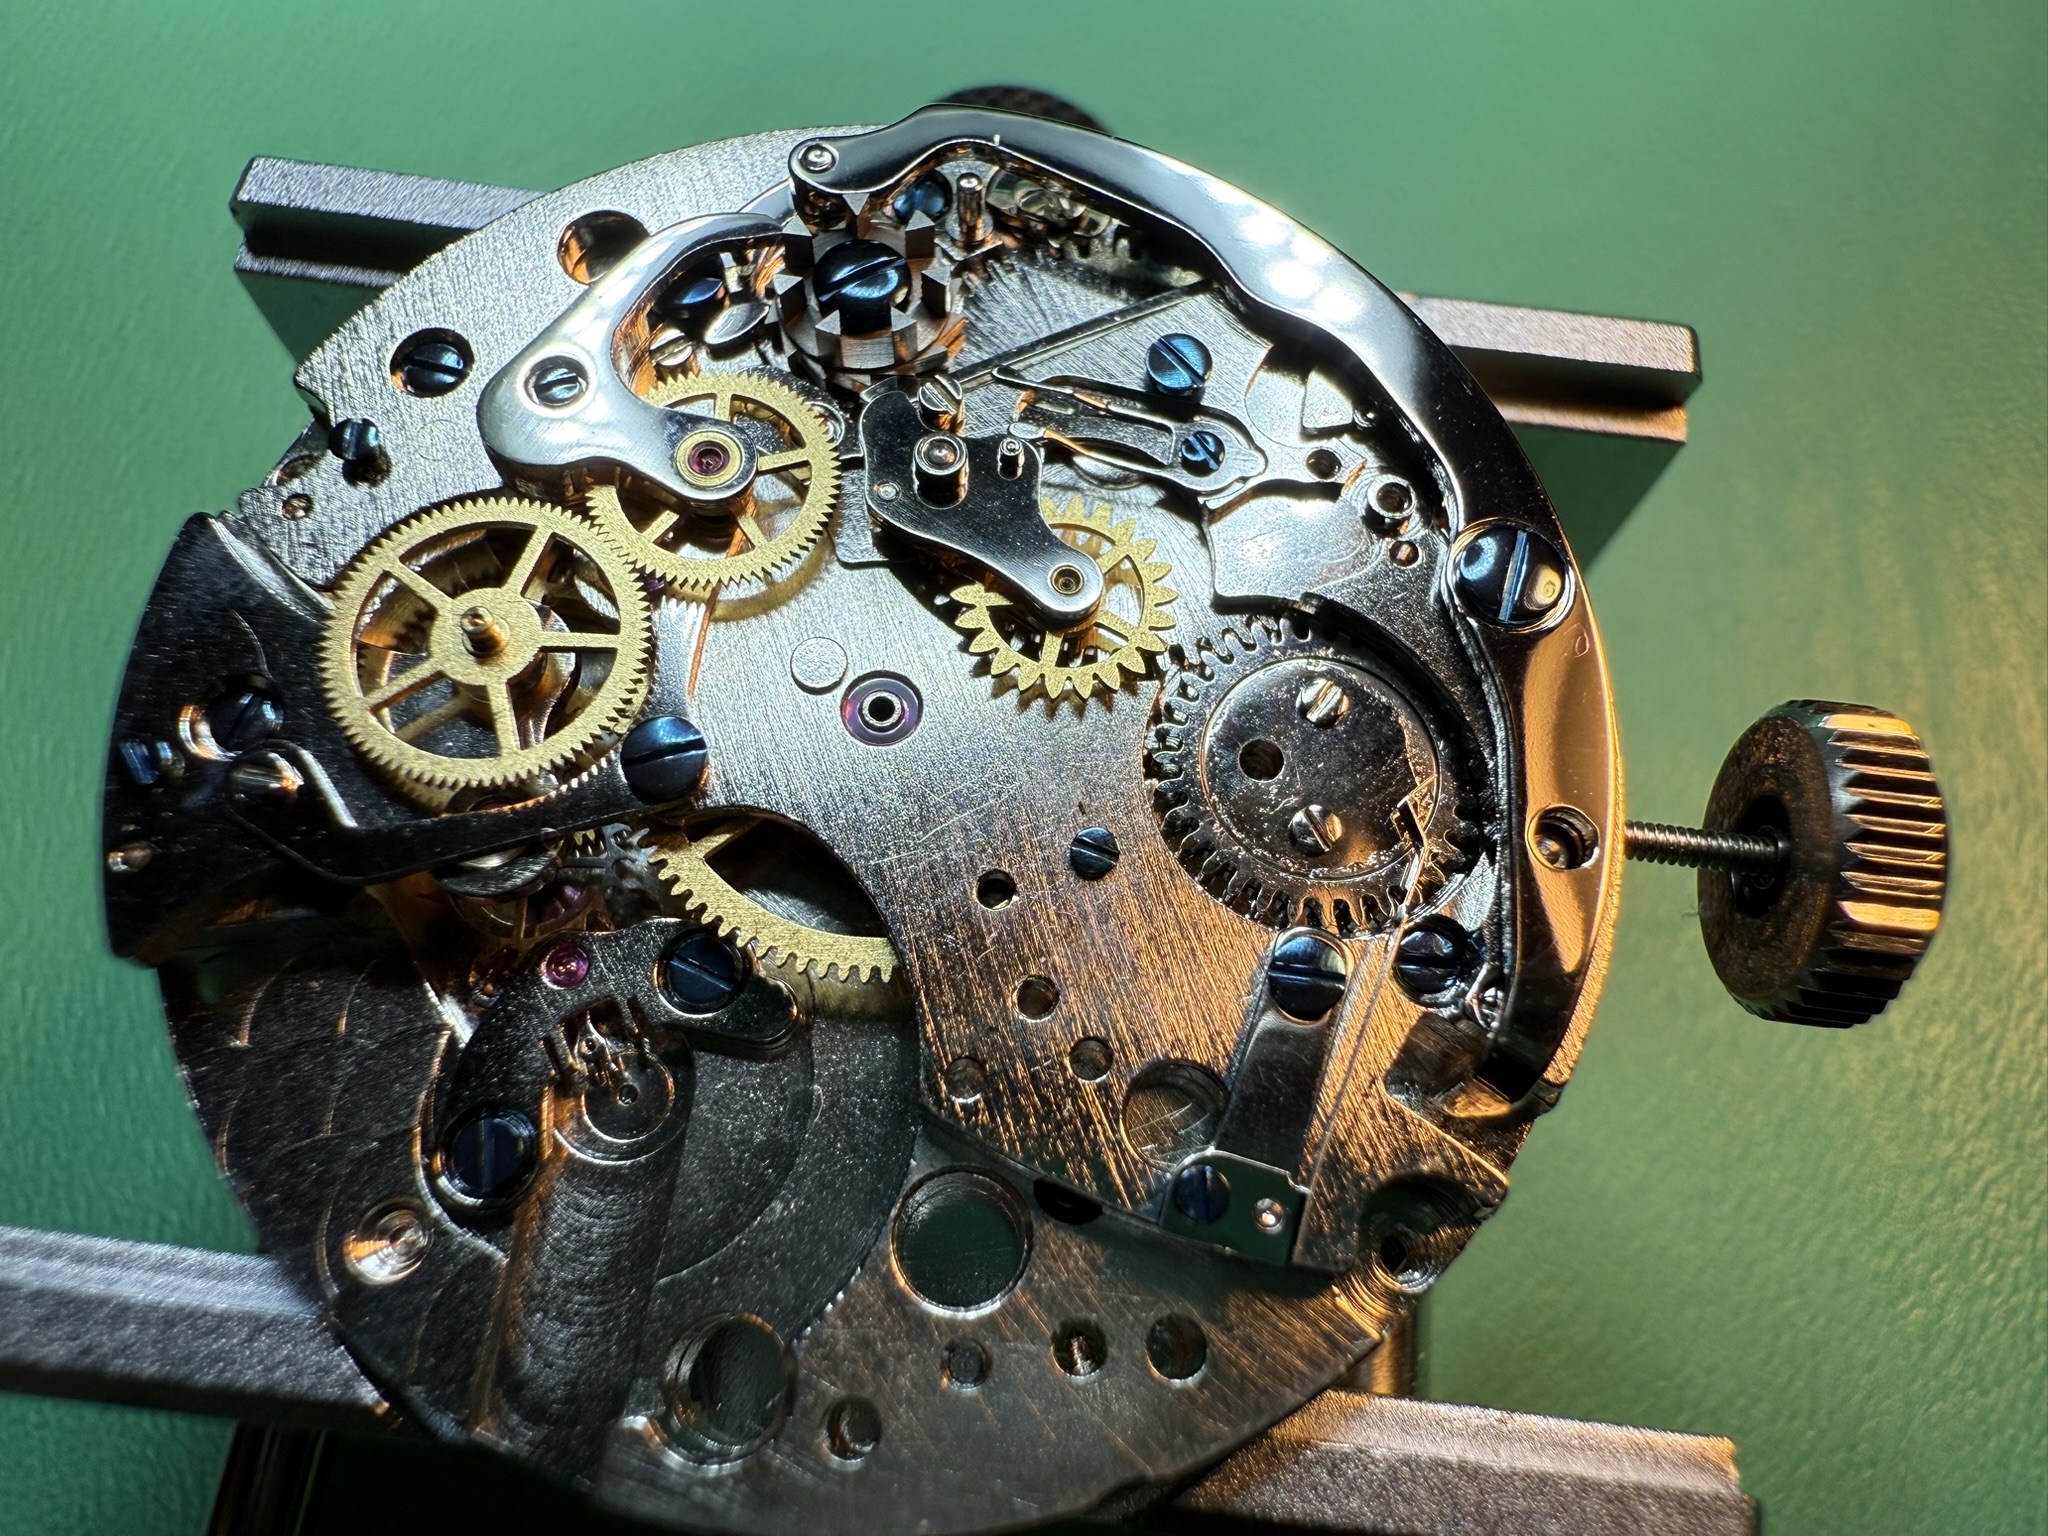
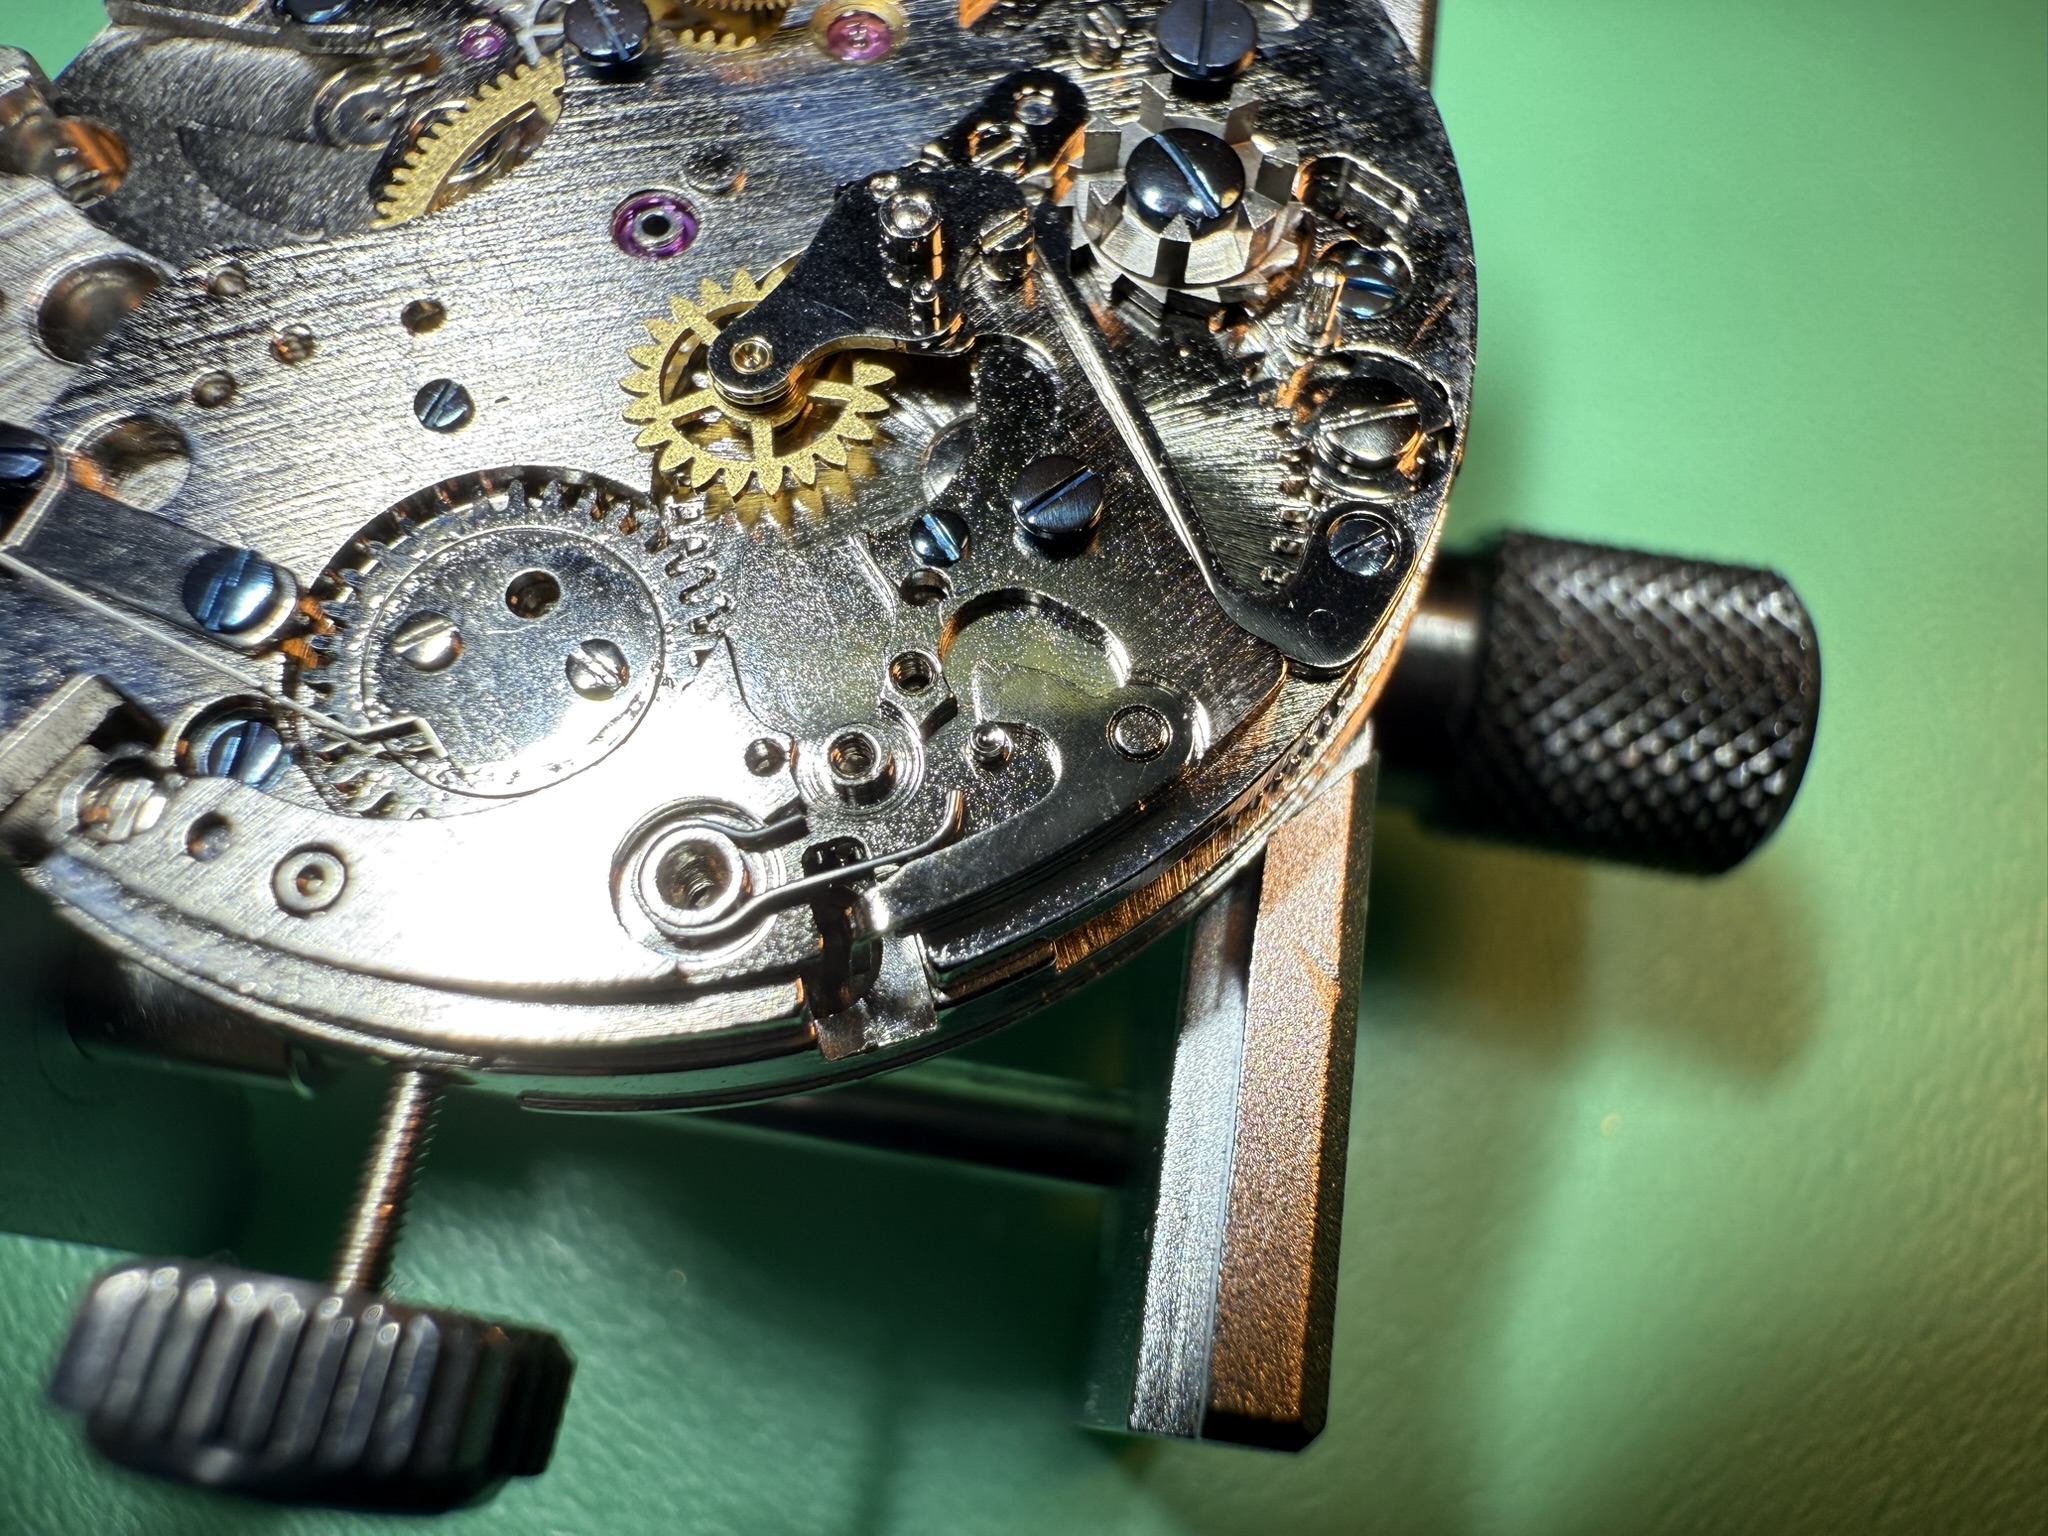
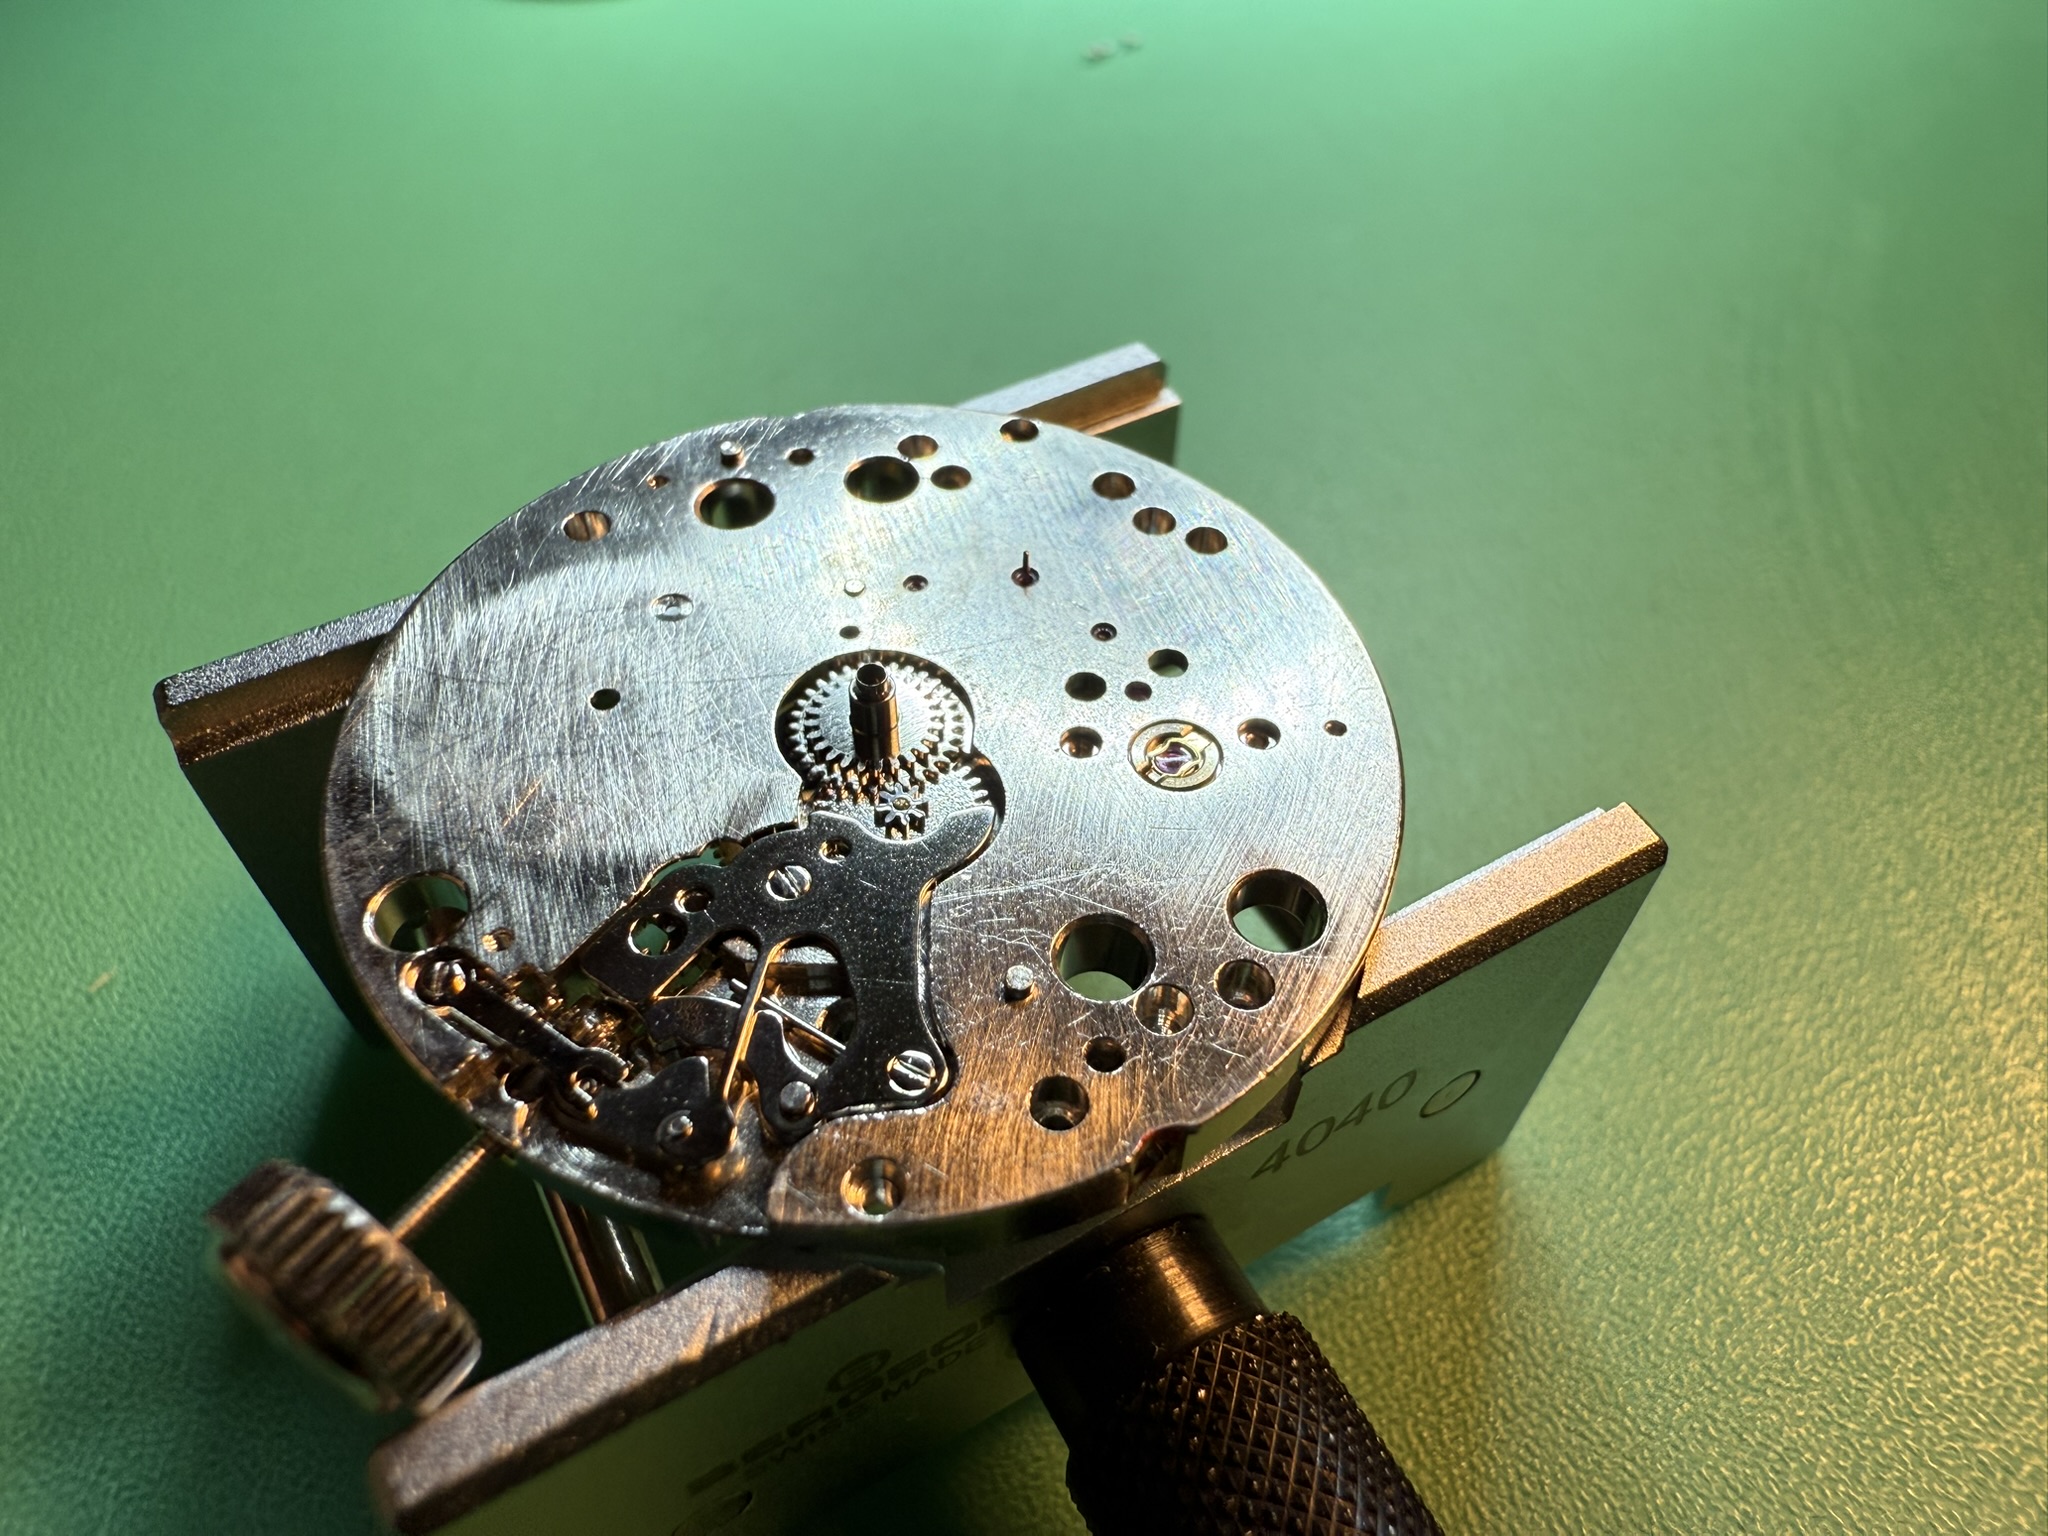
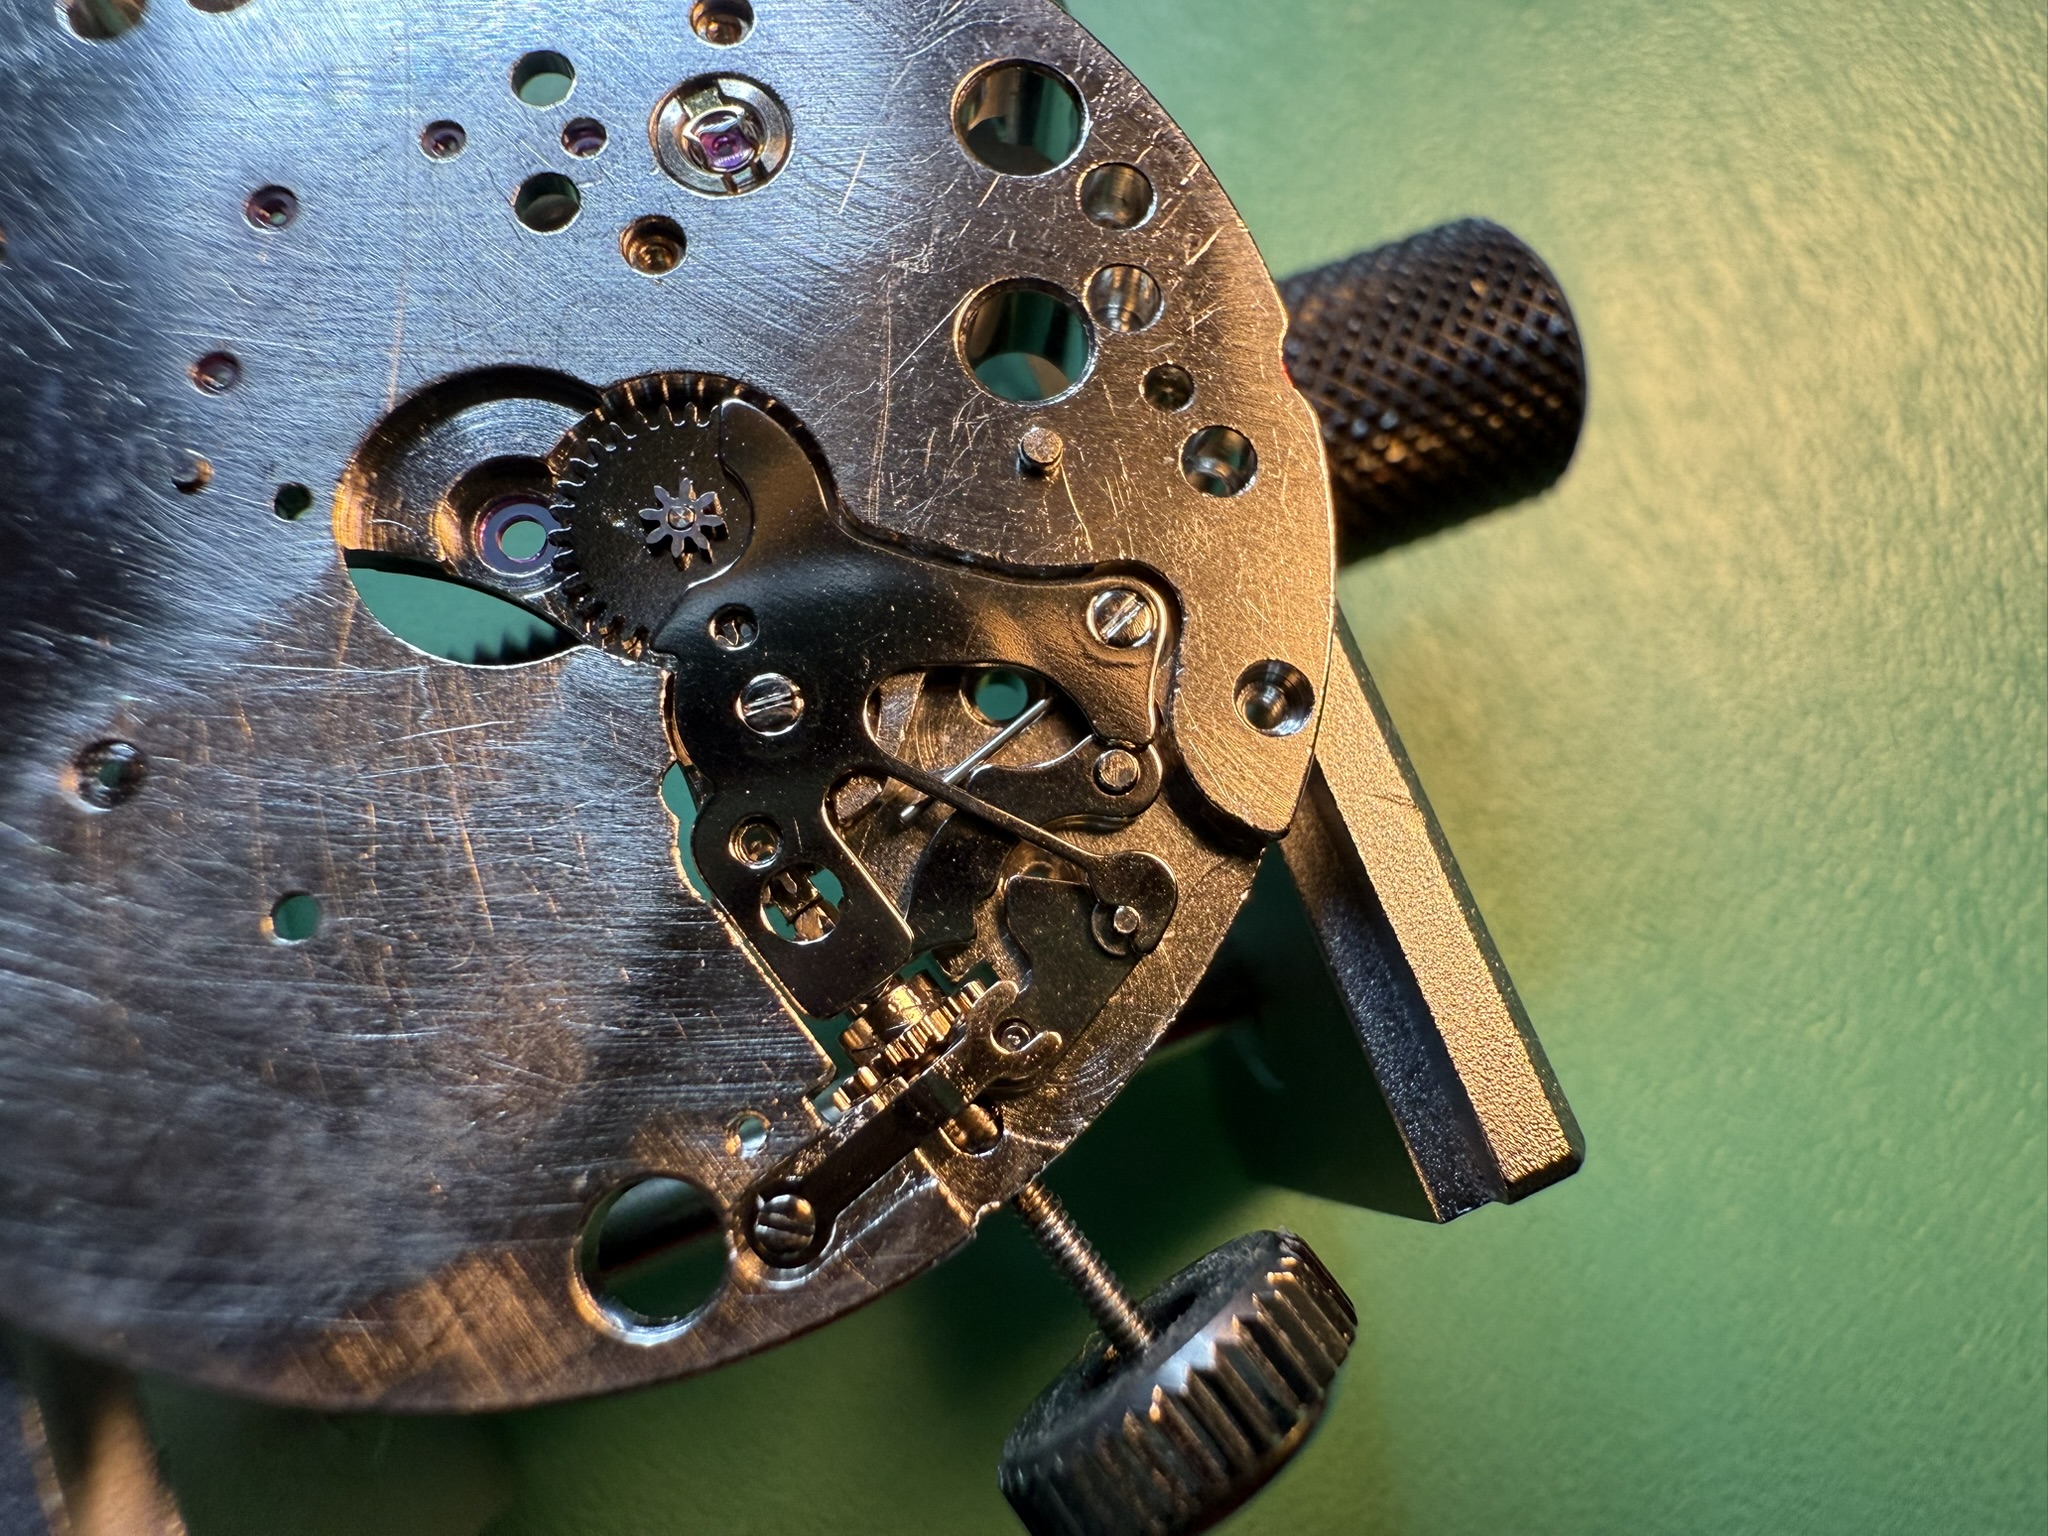
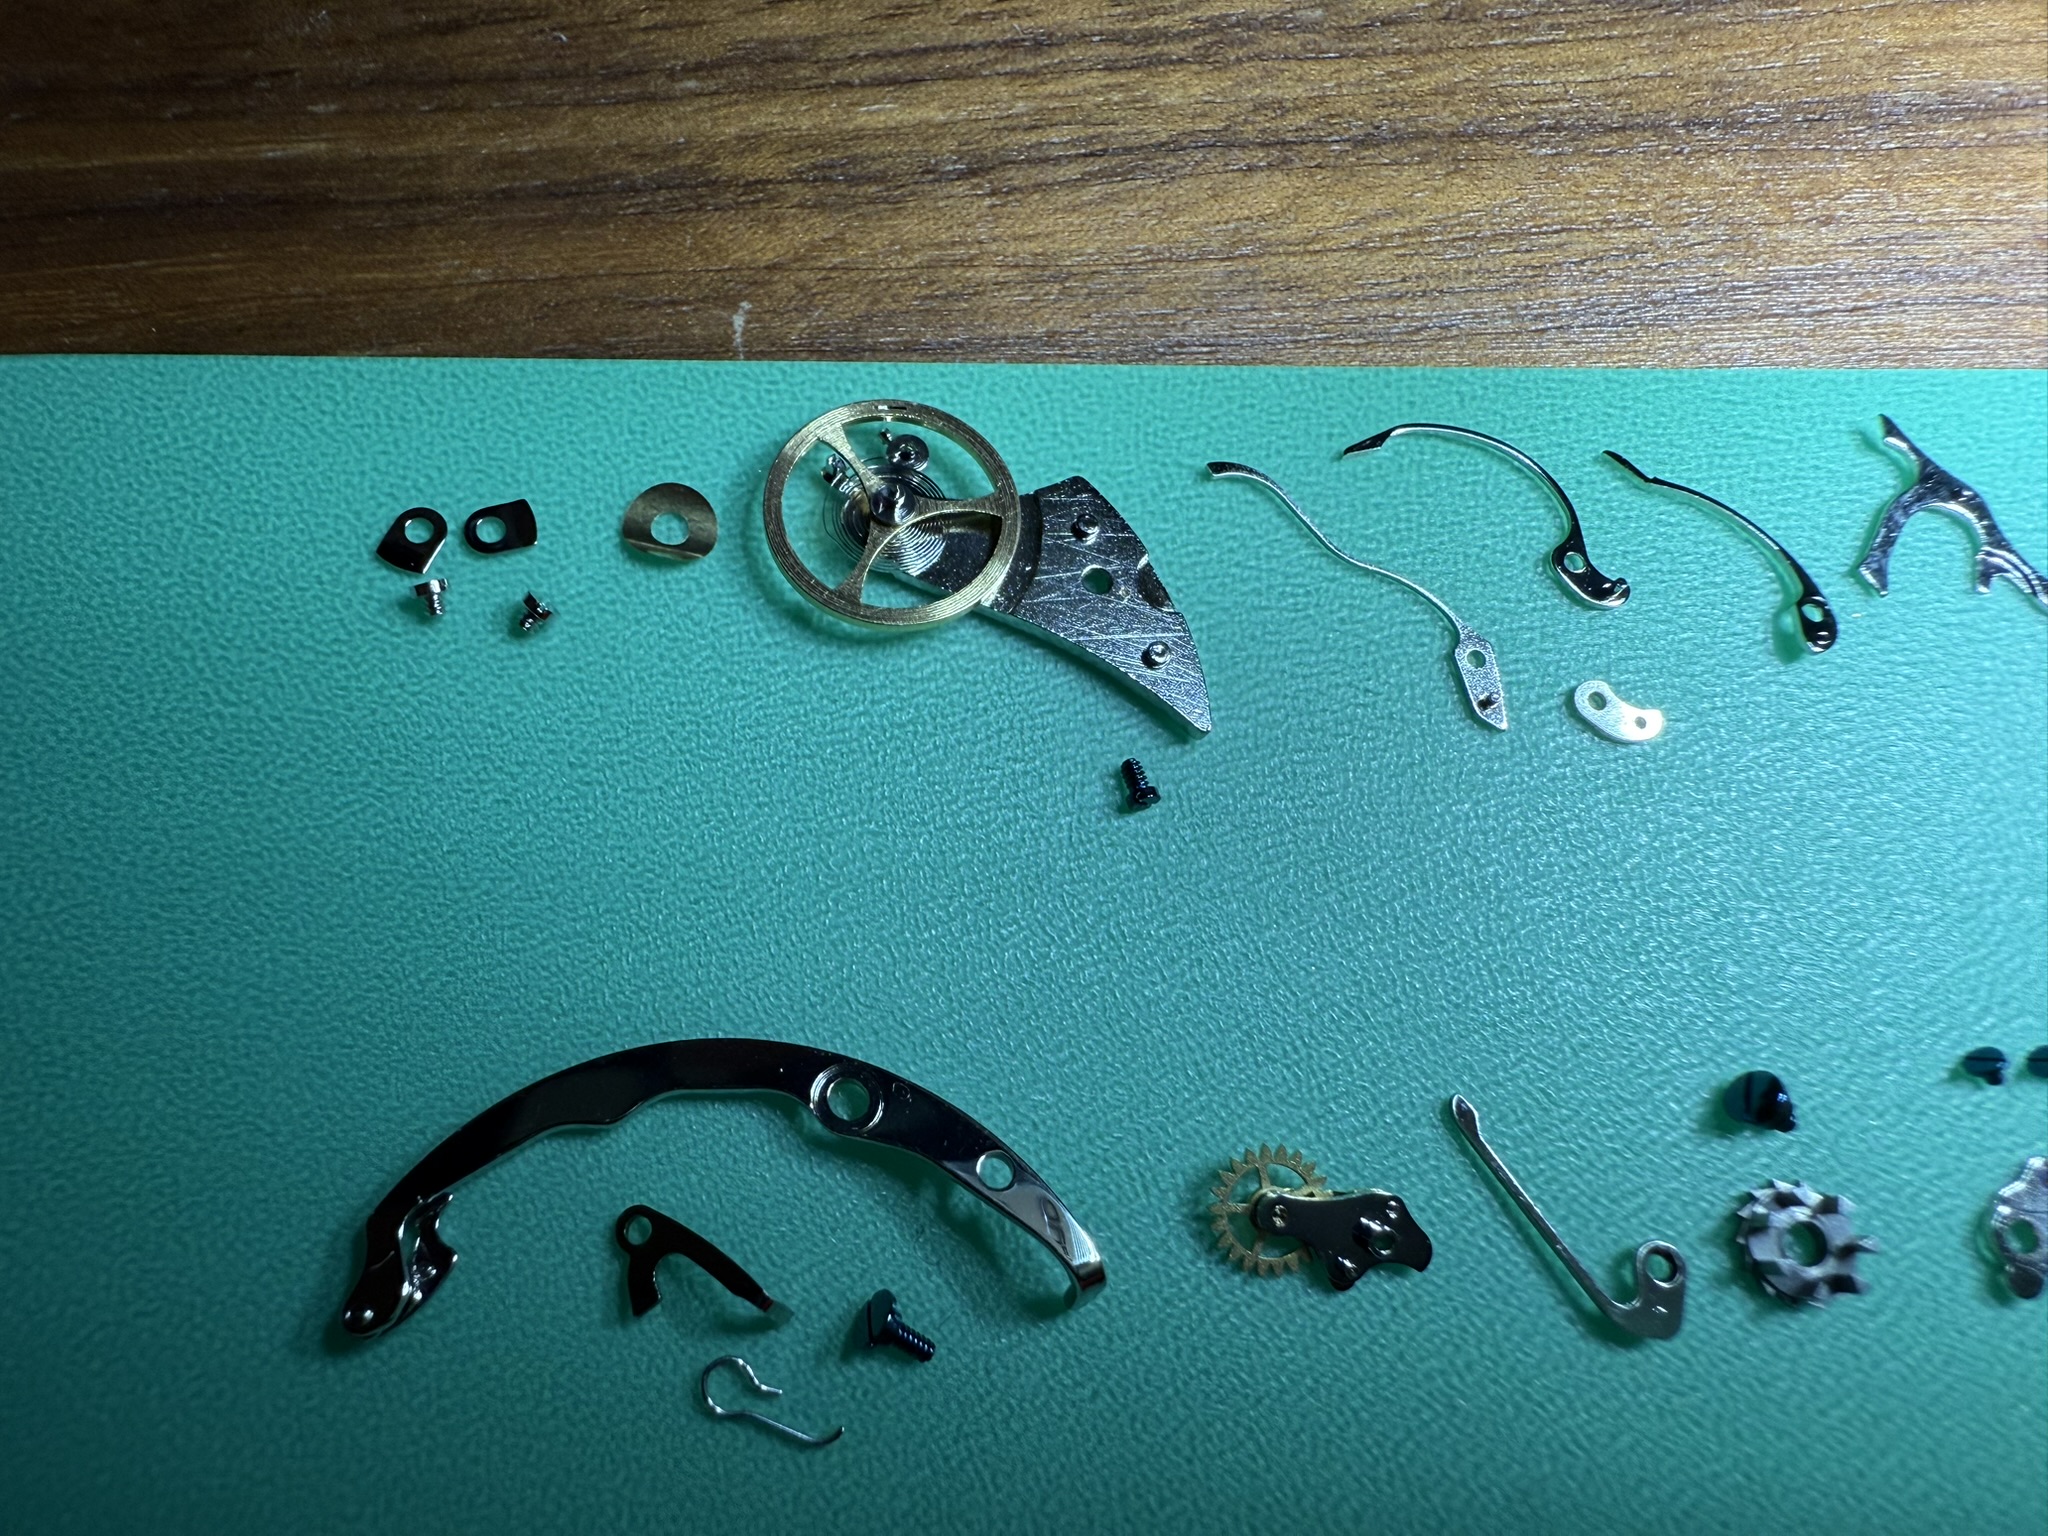
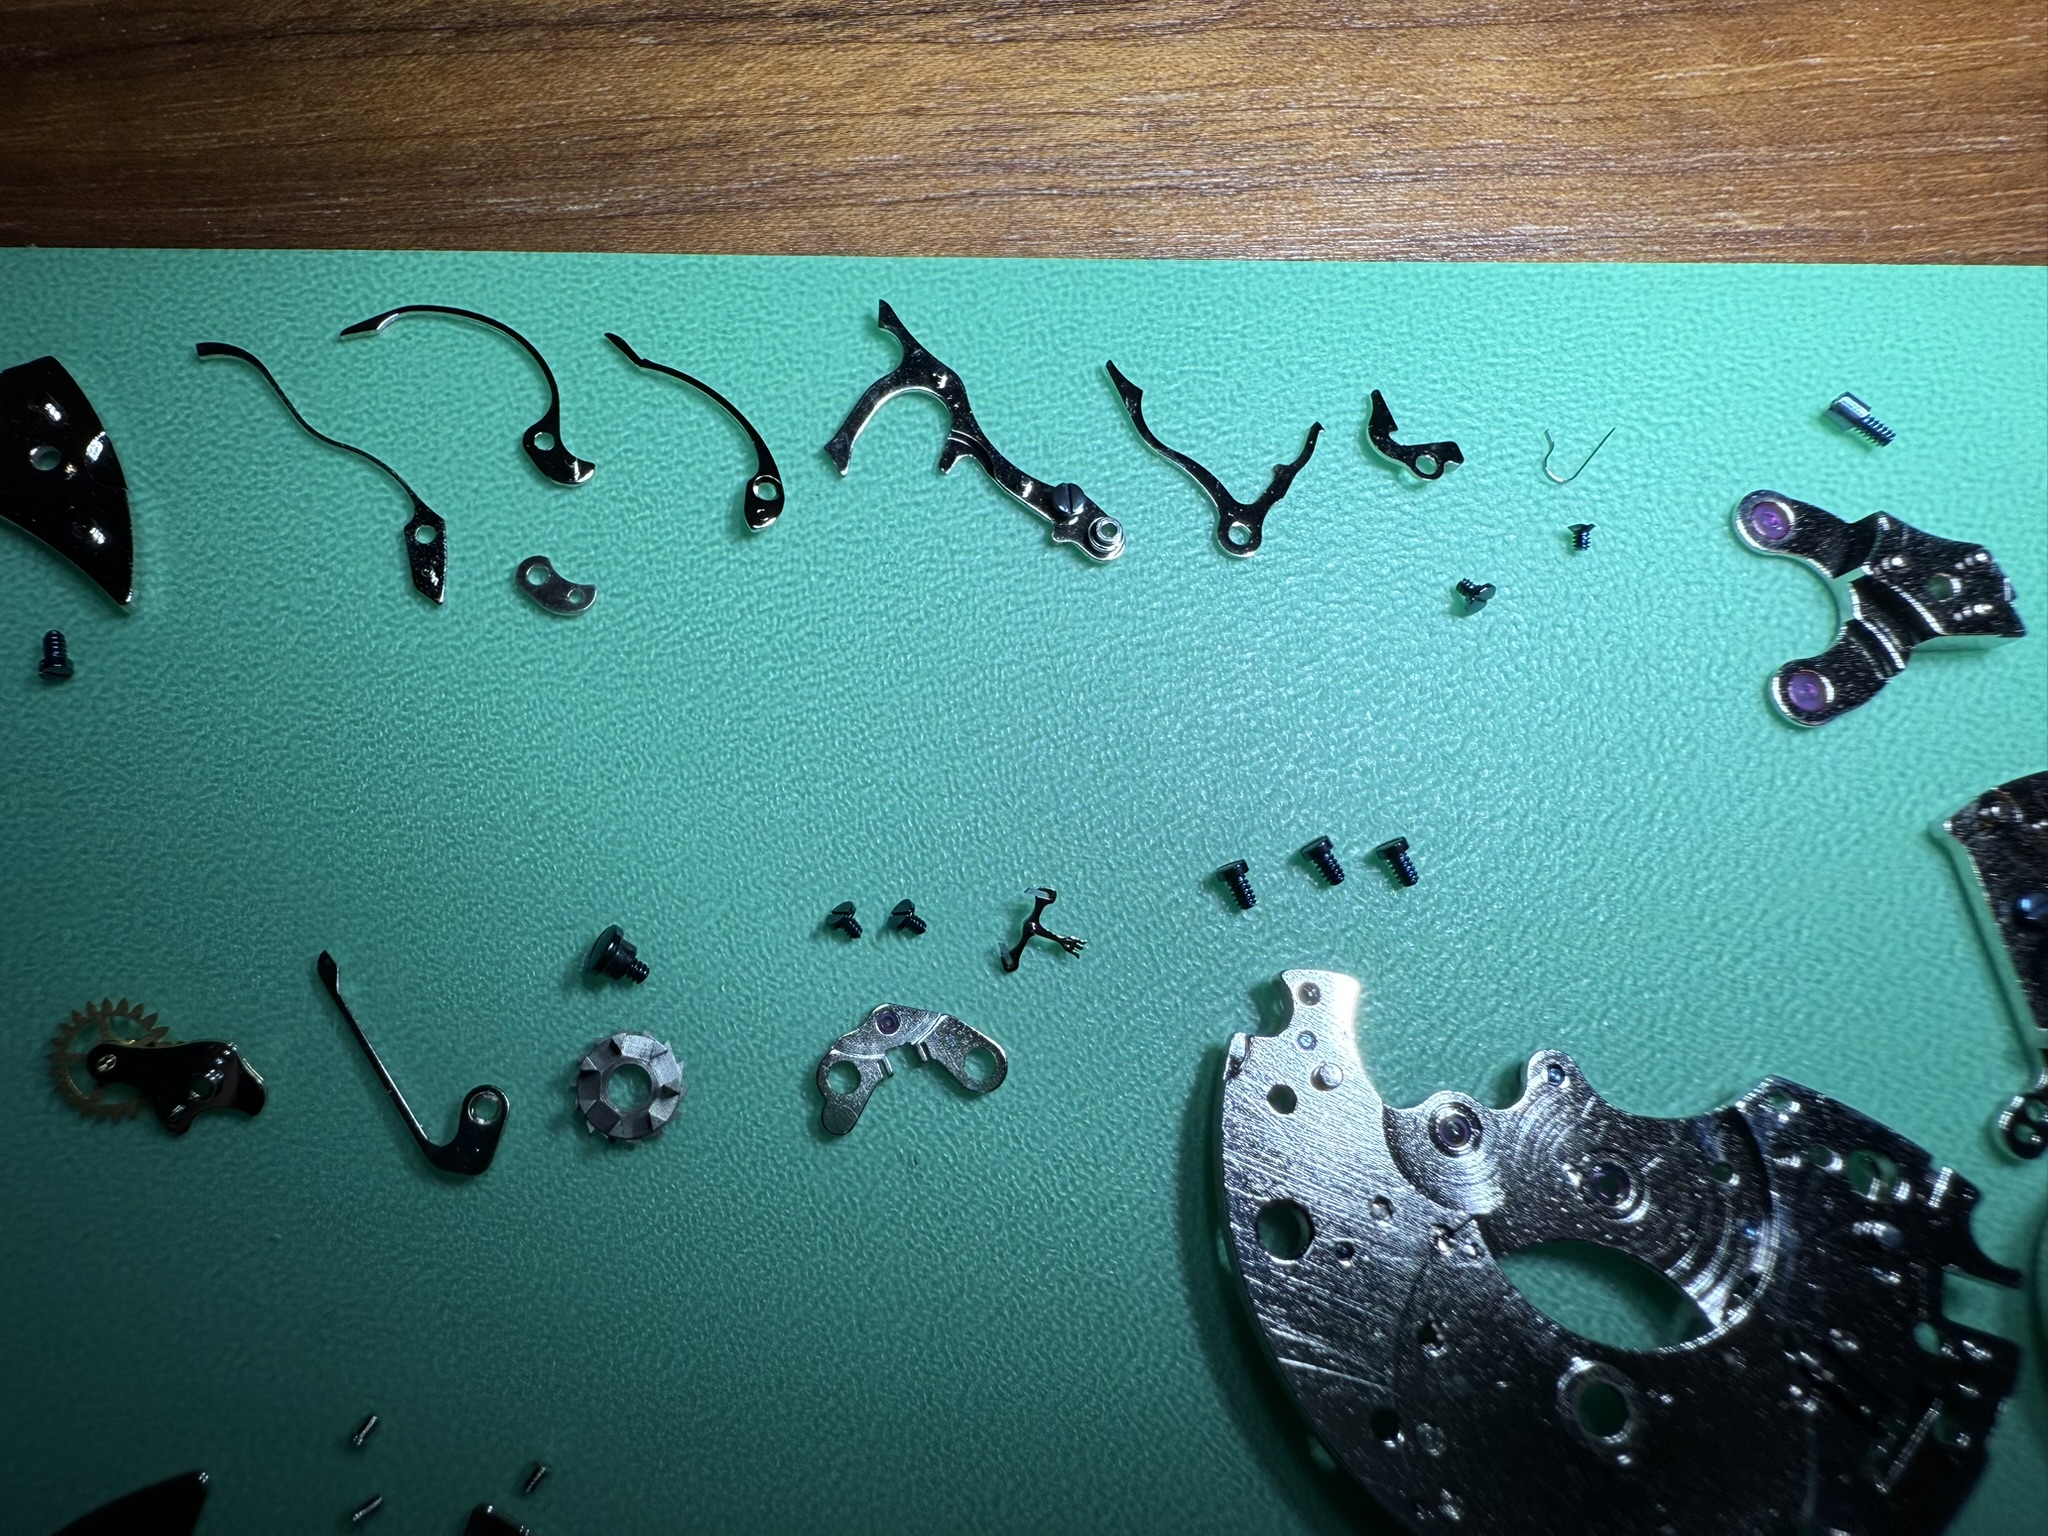
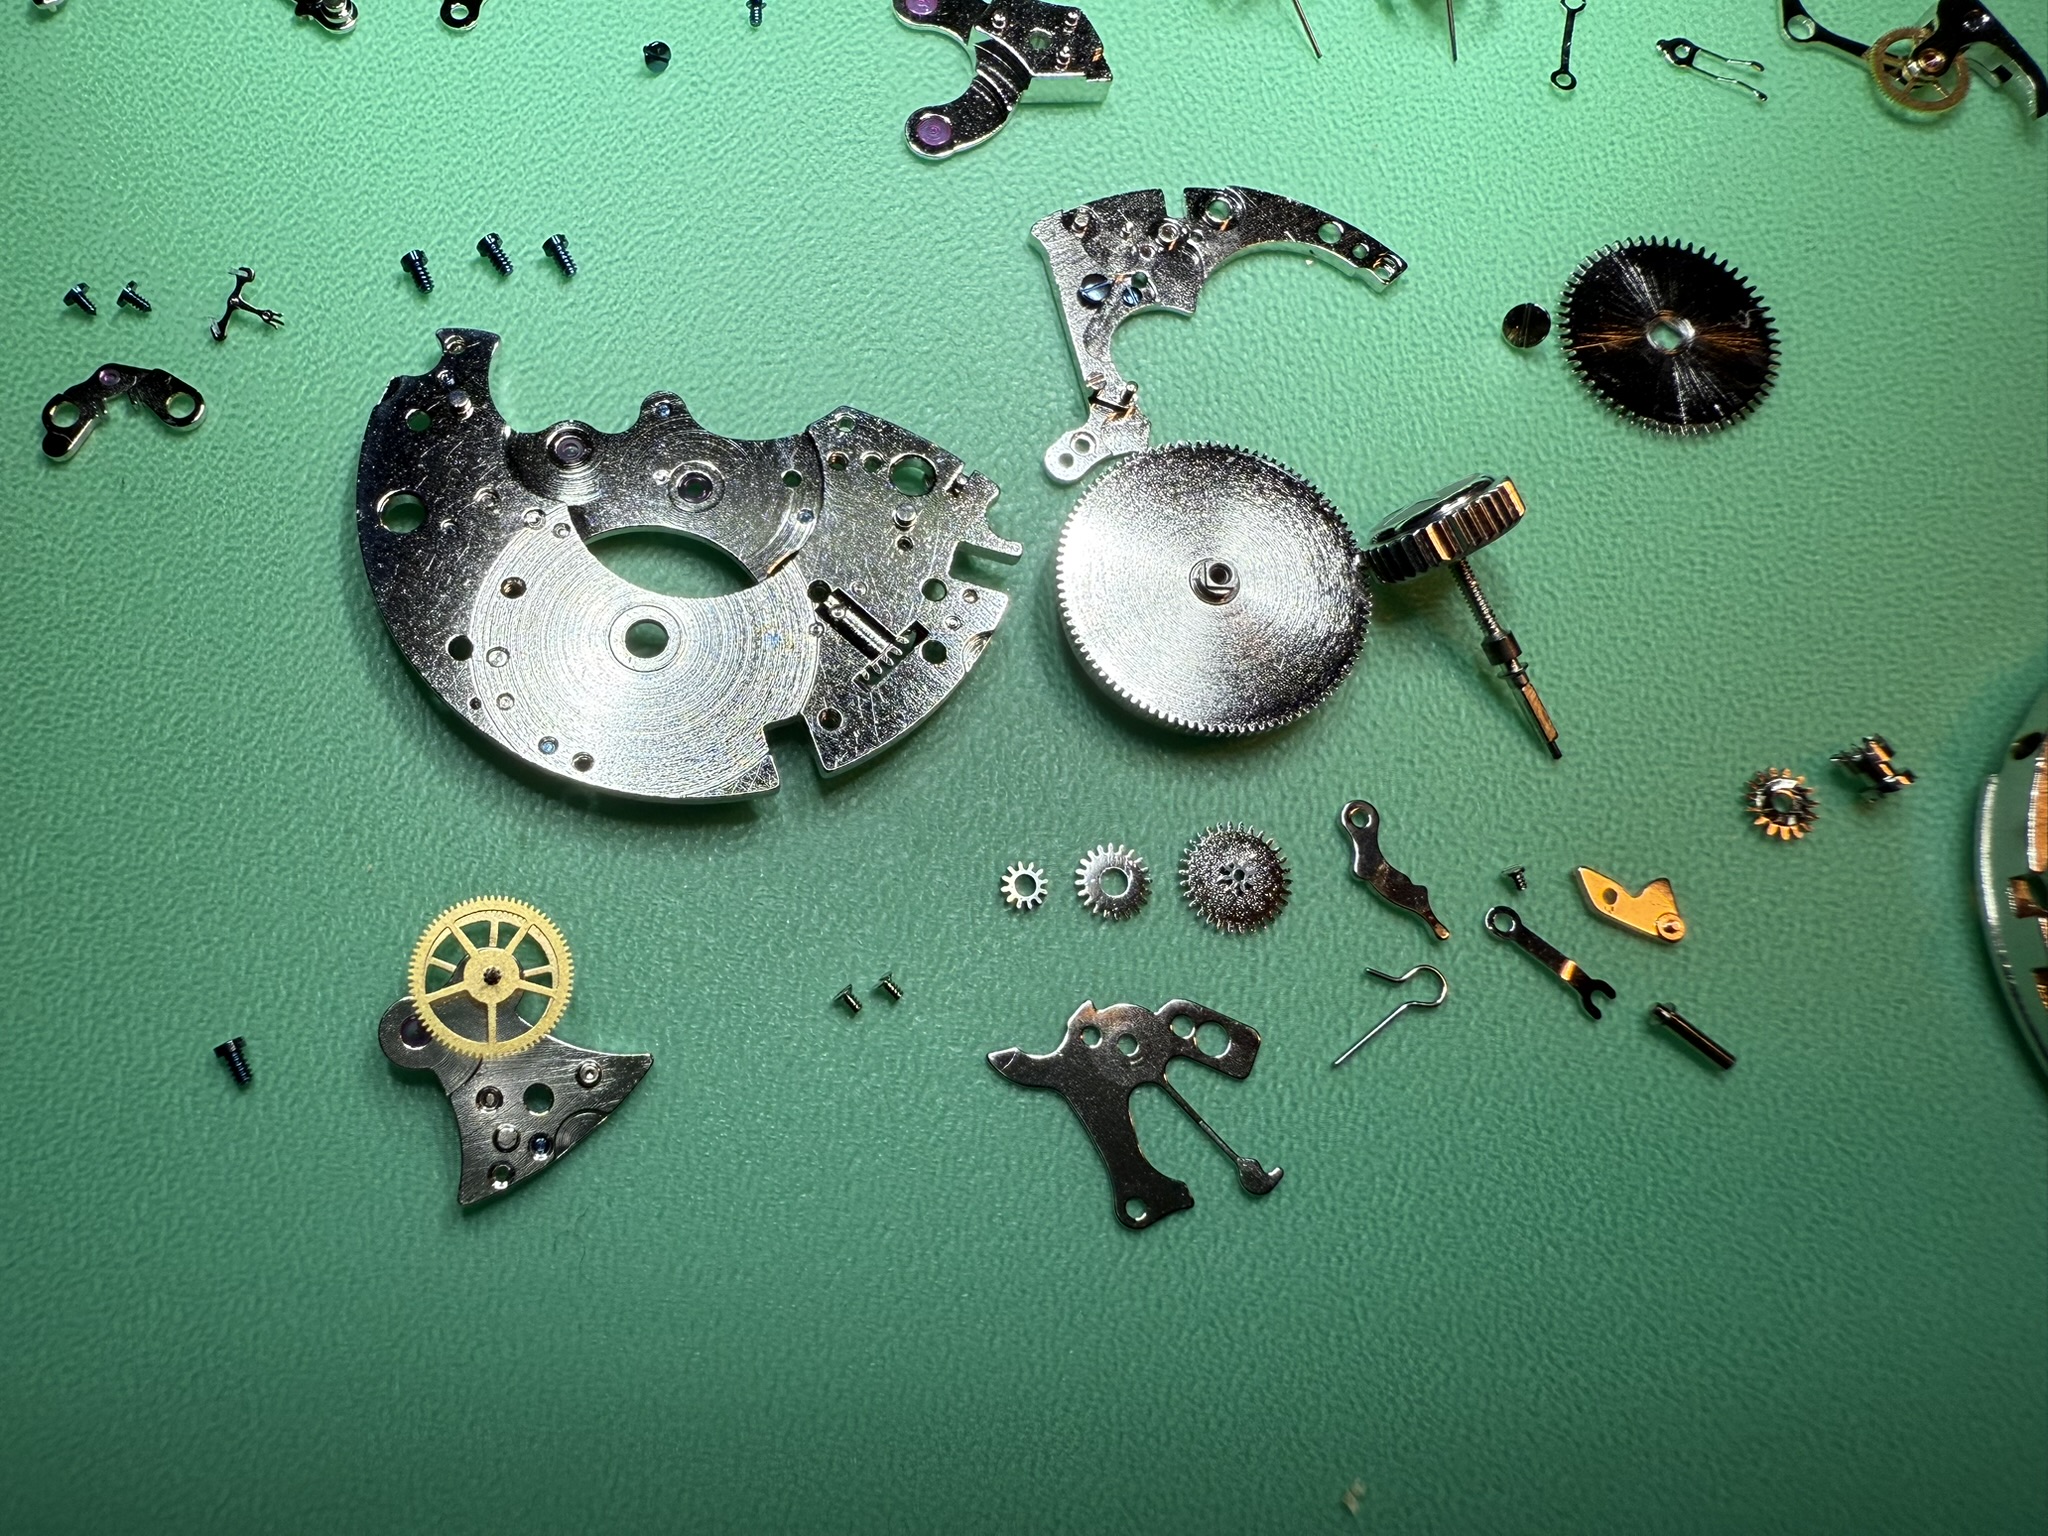
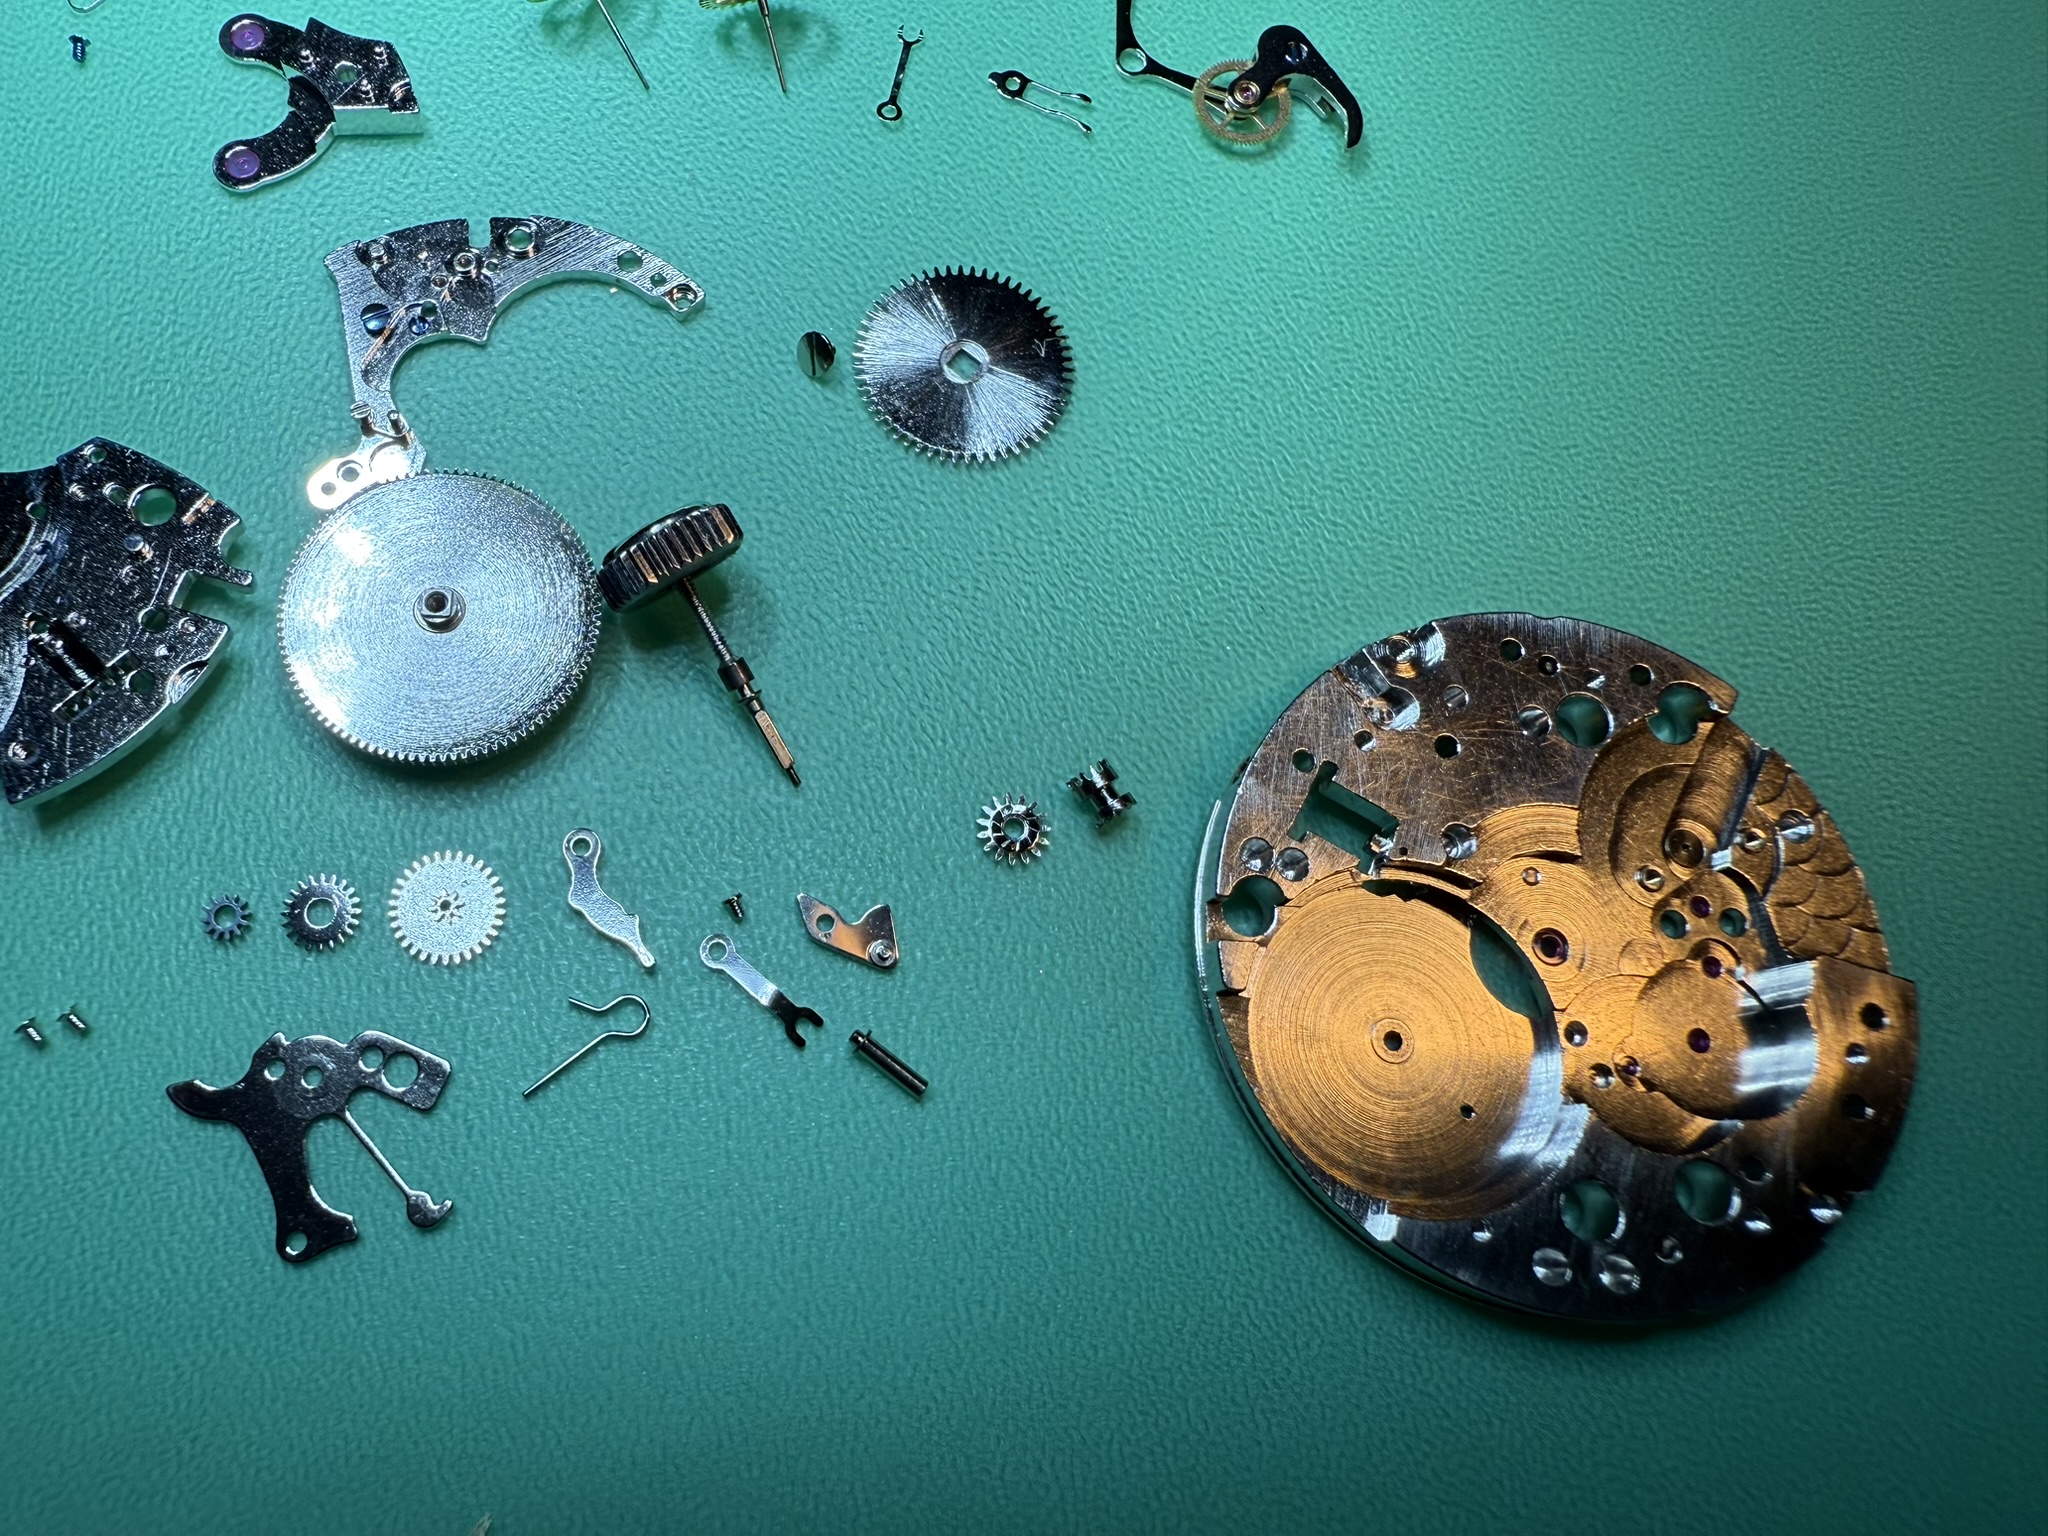
Component overview
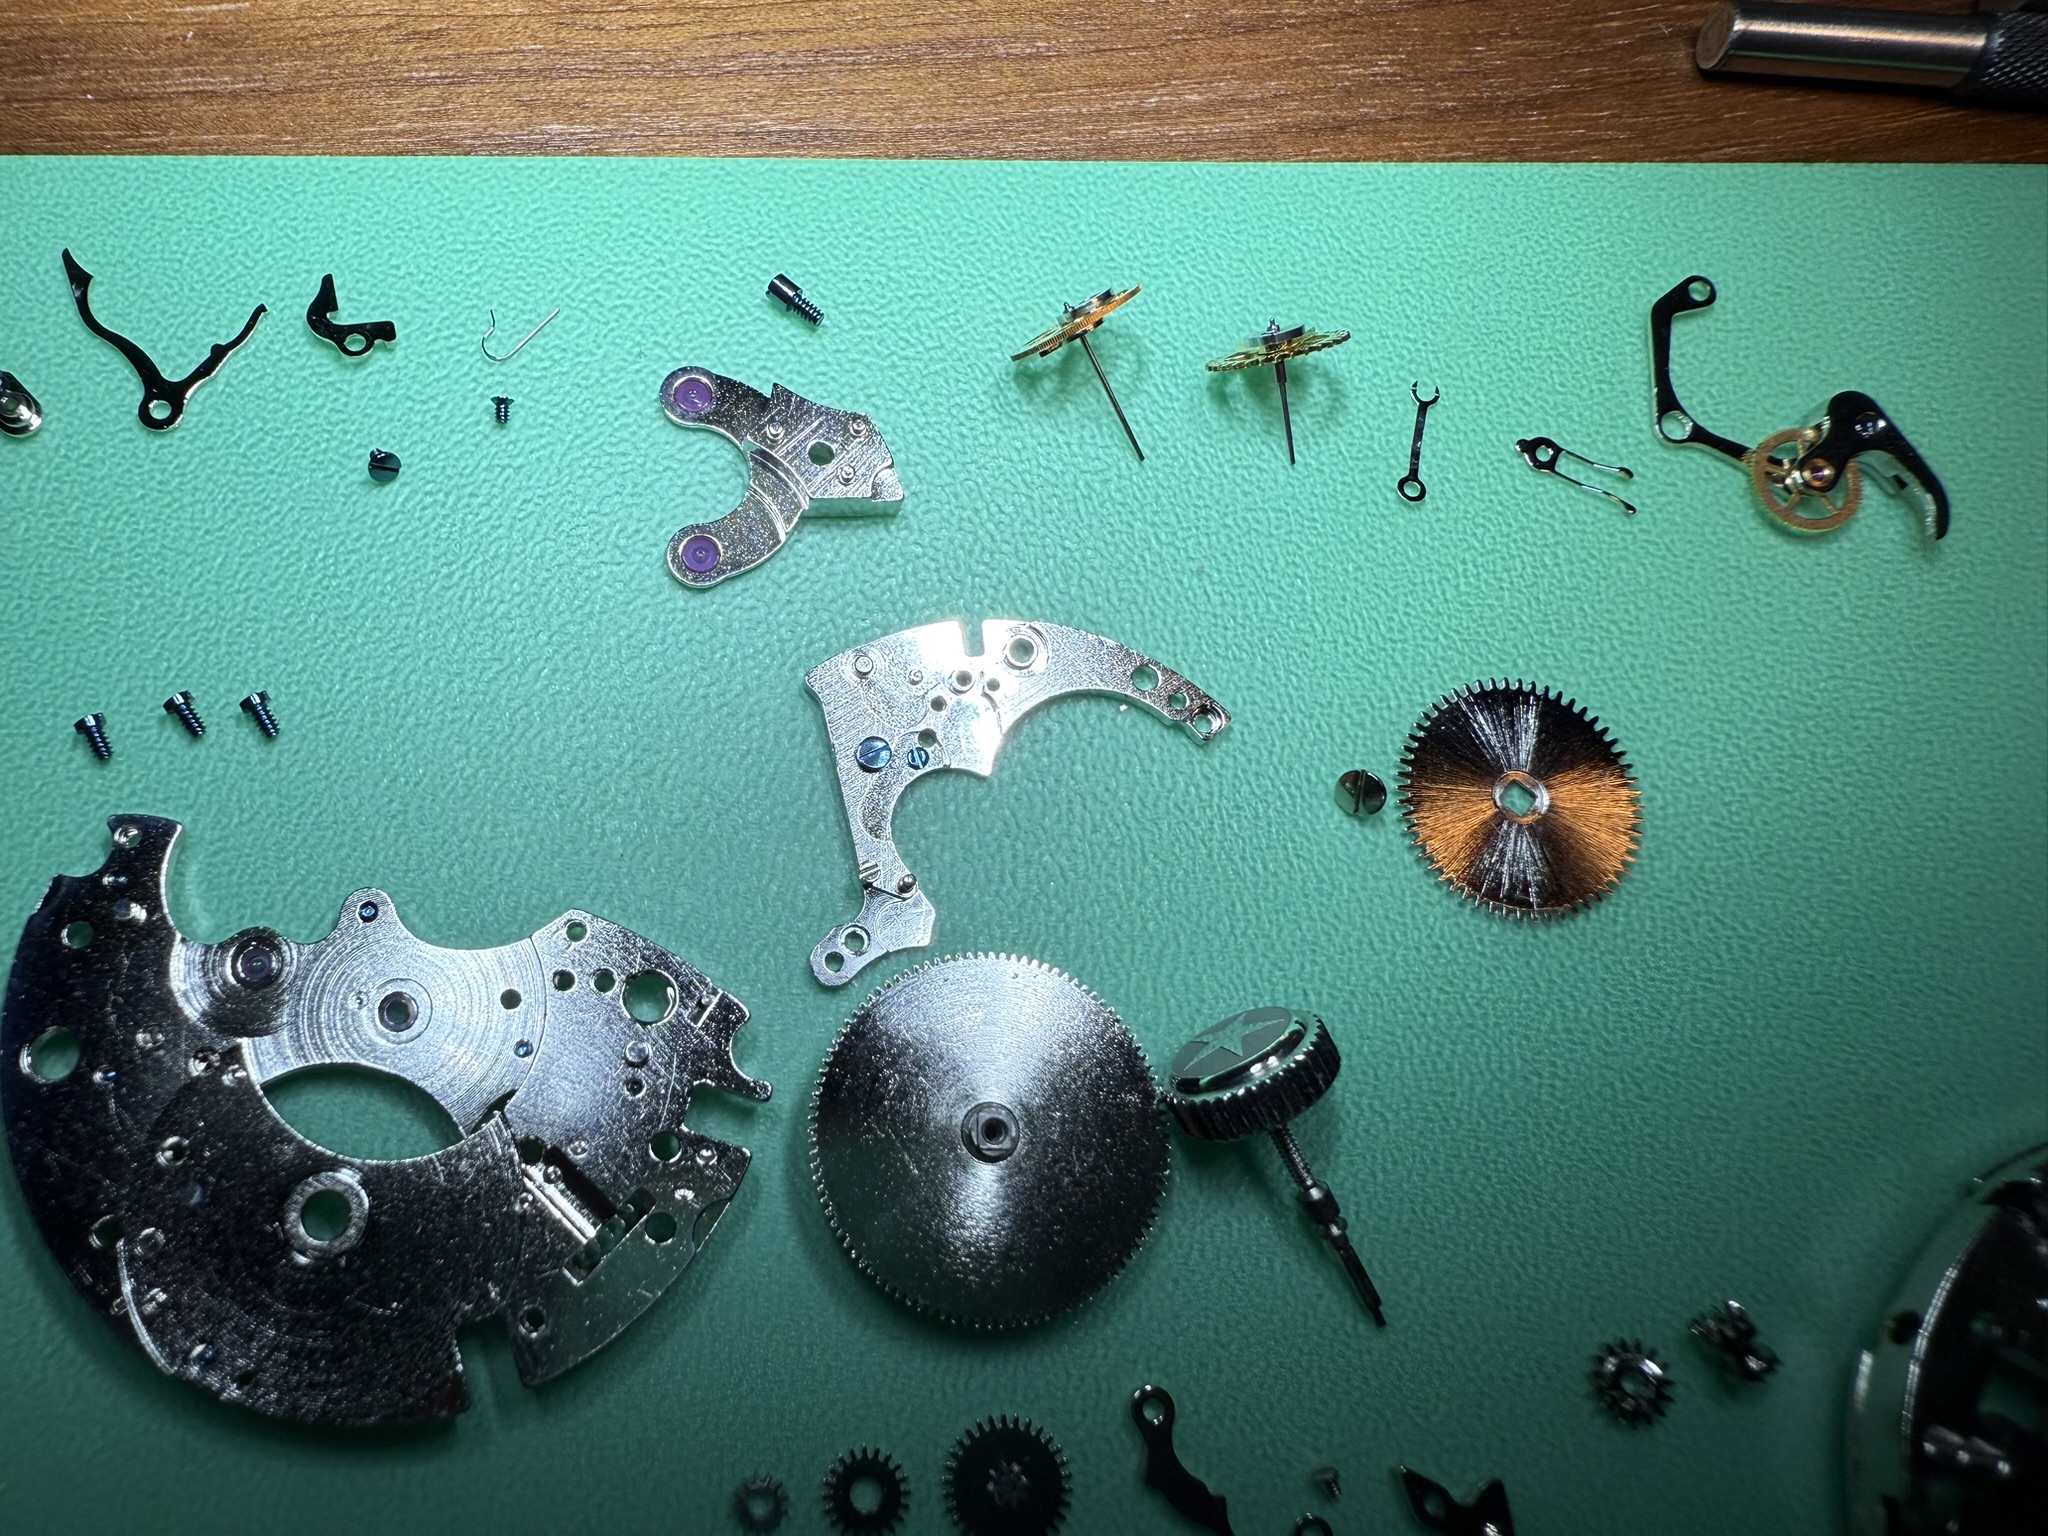
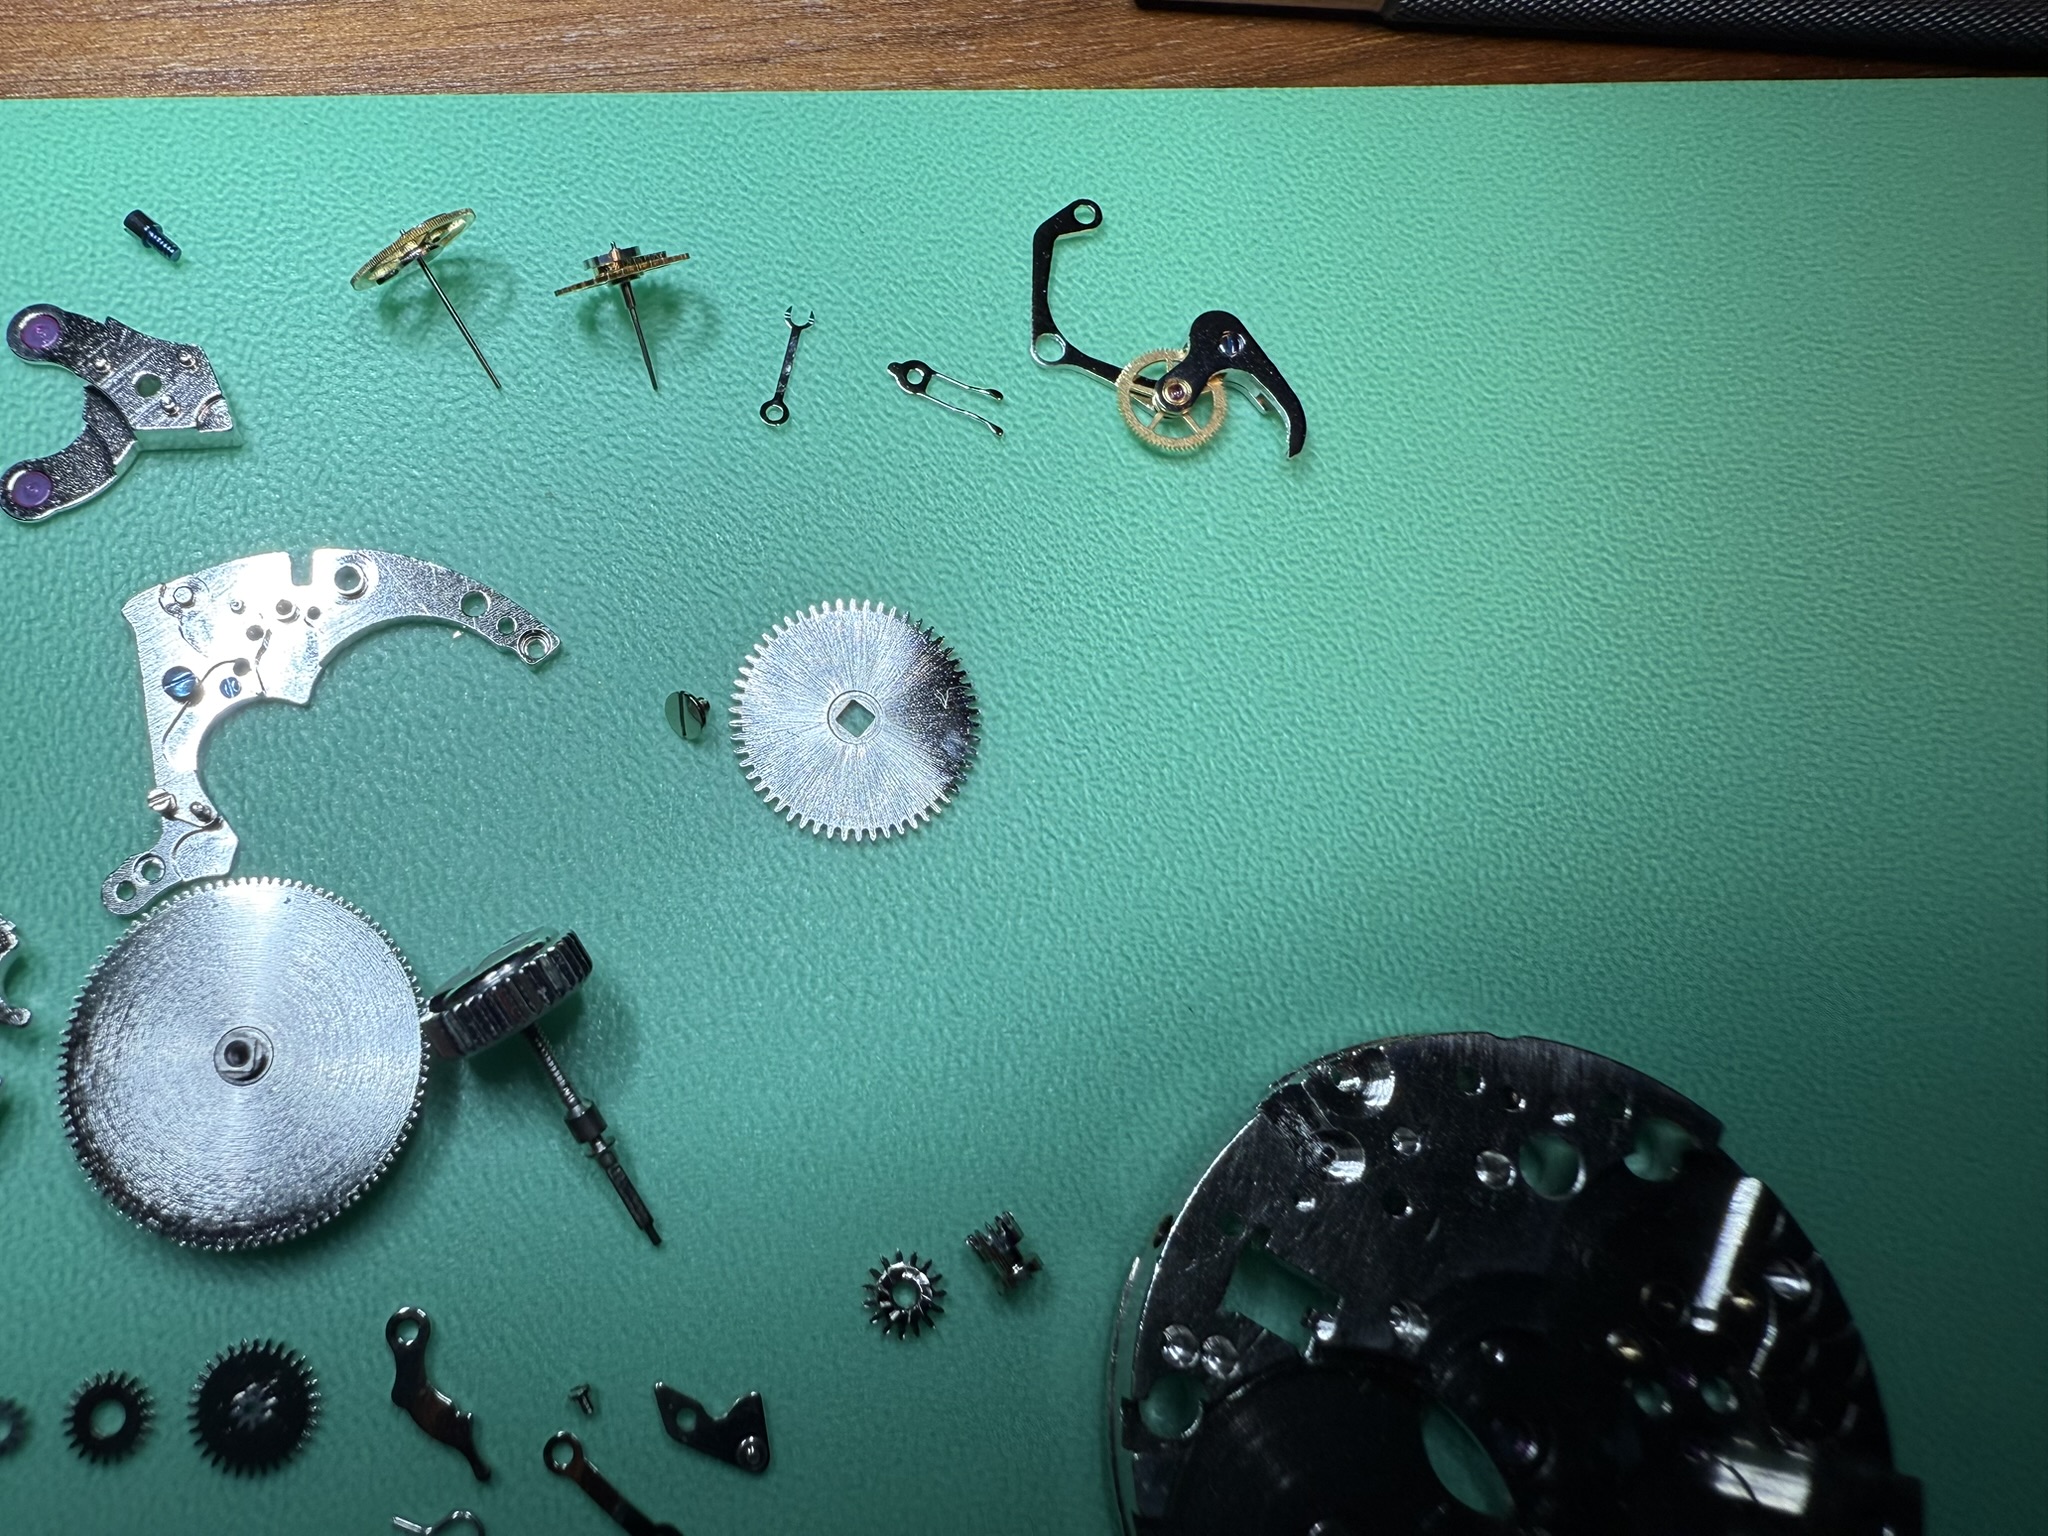
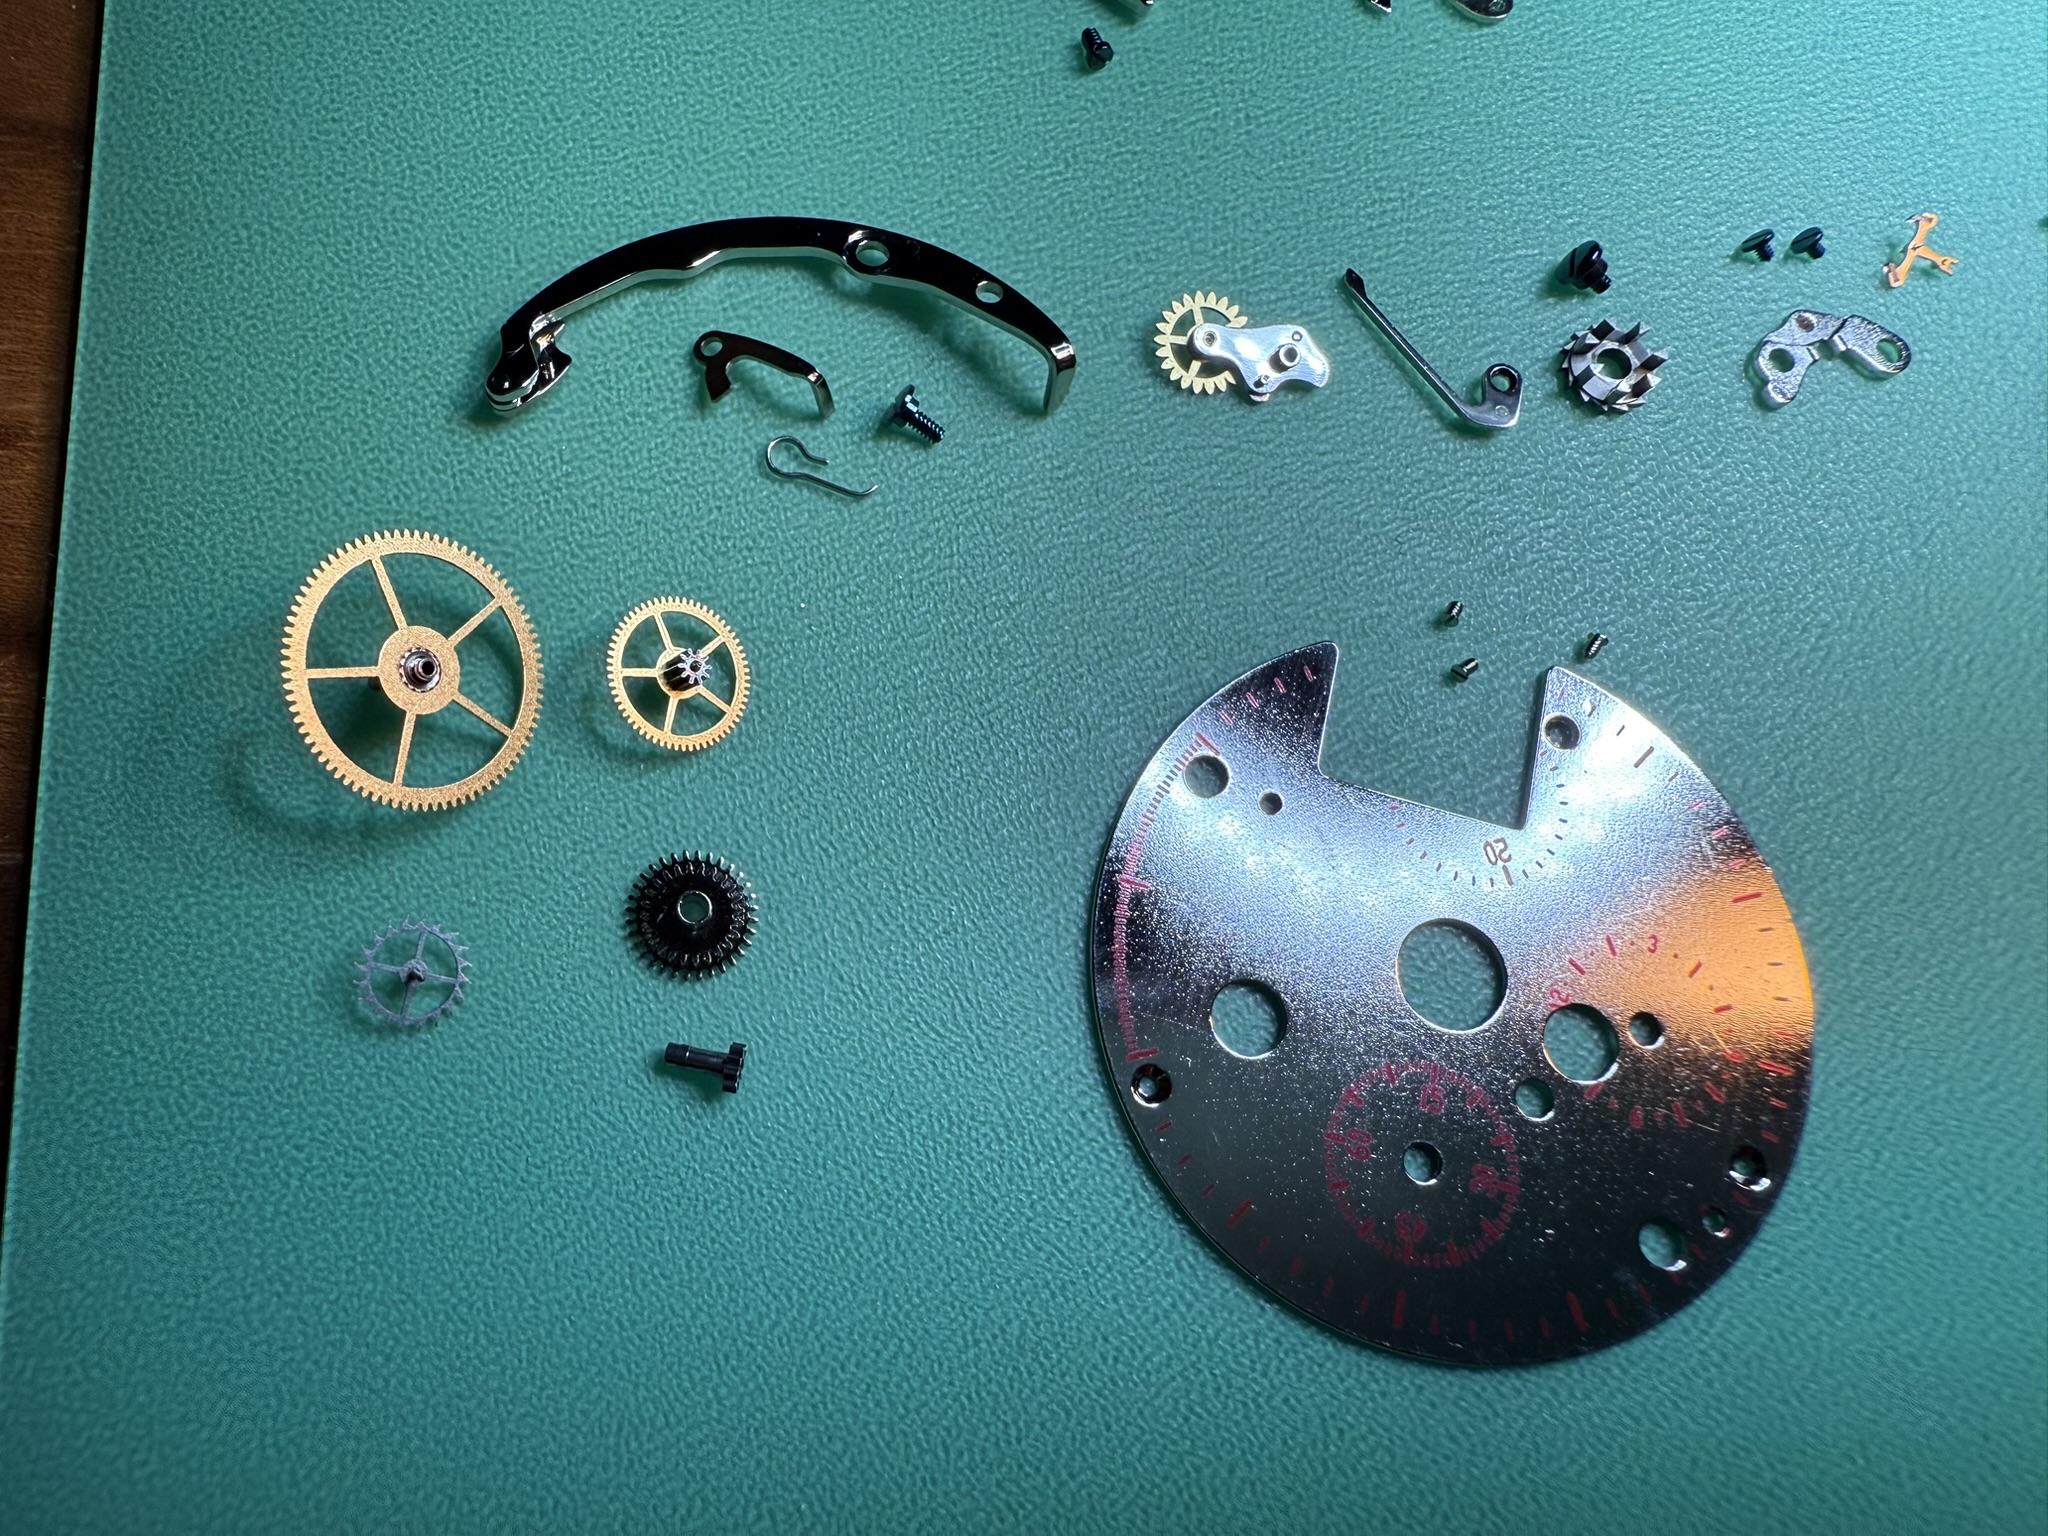
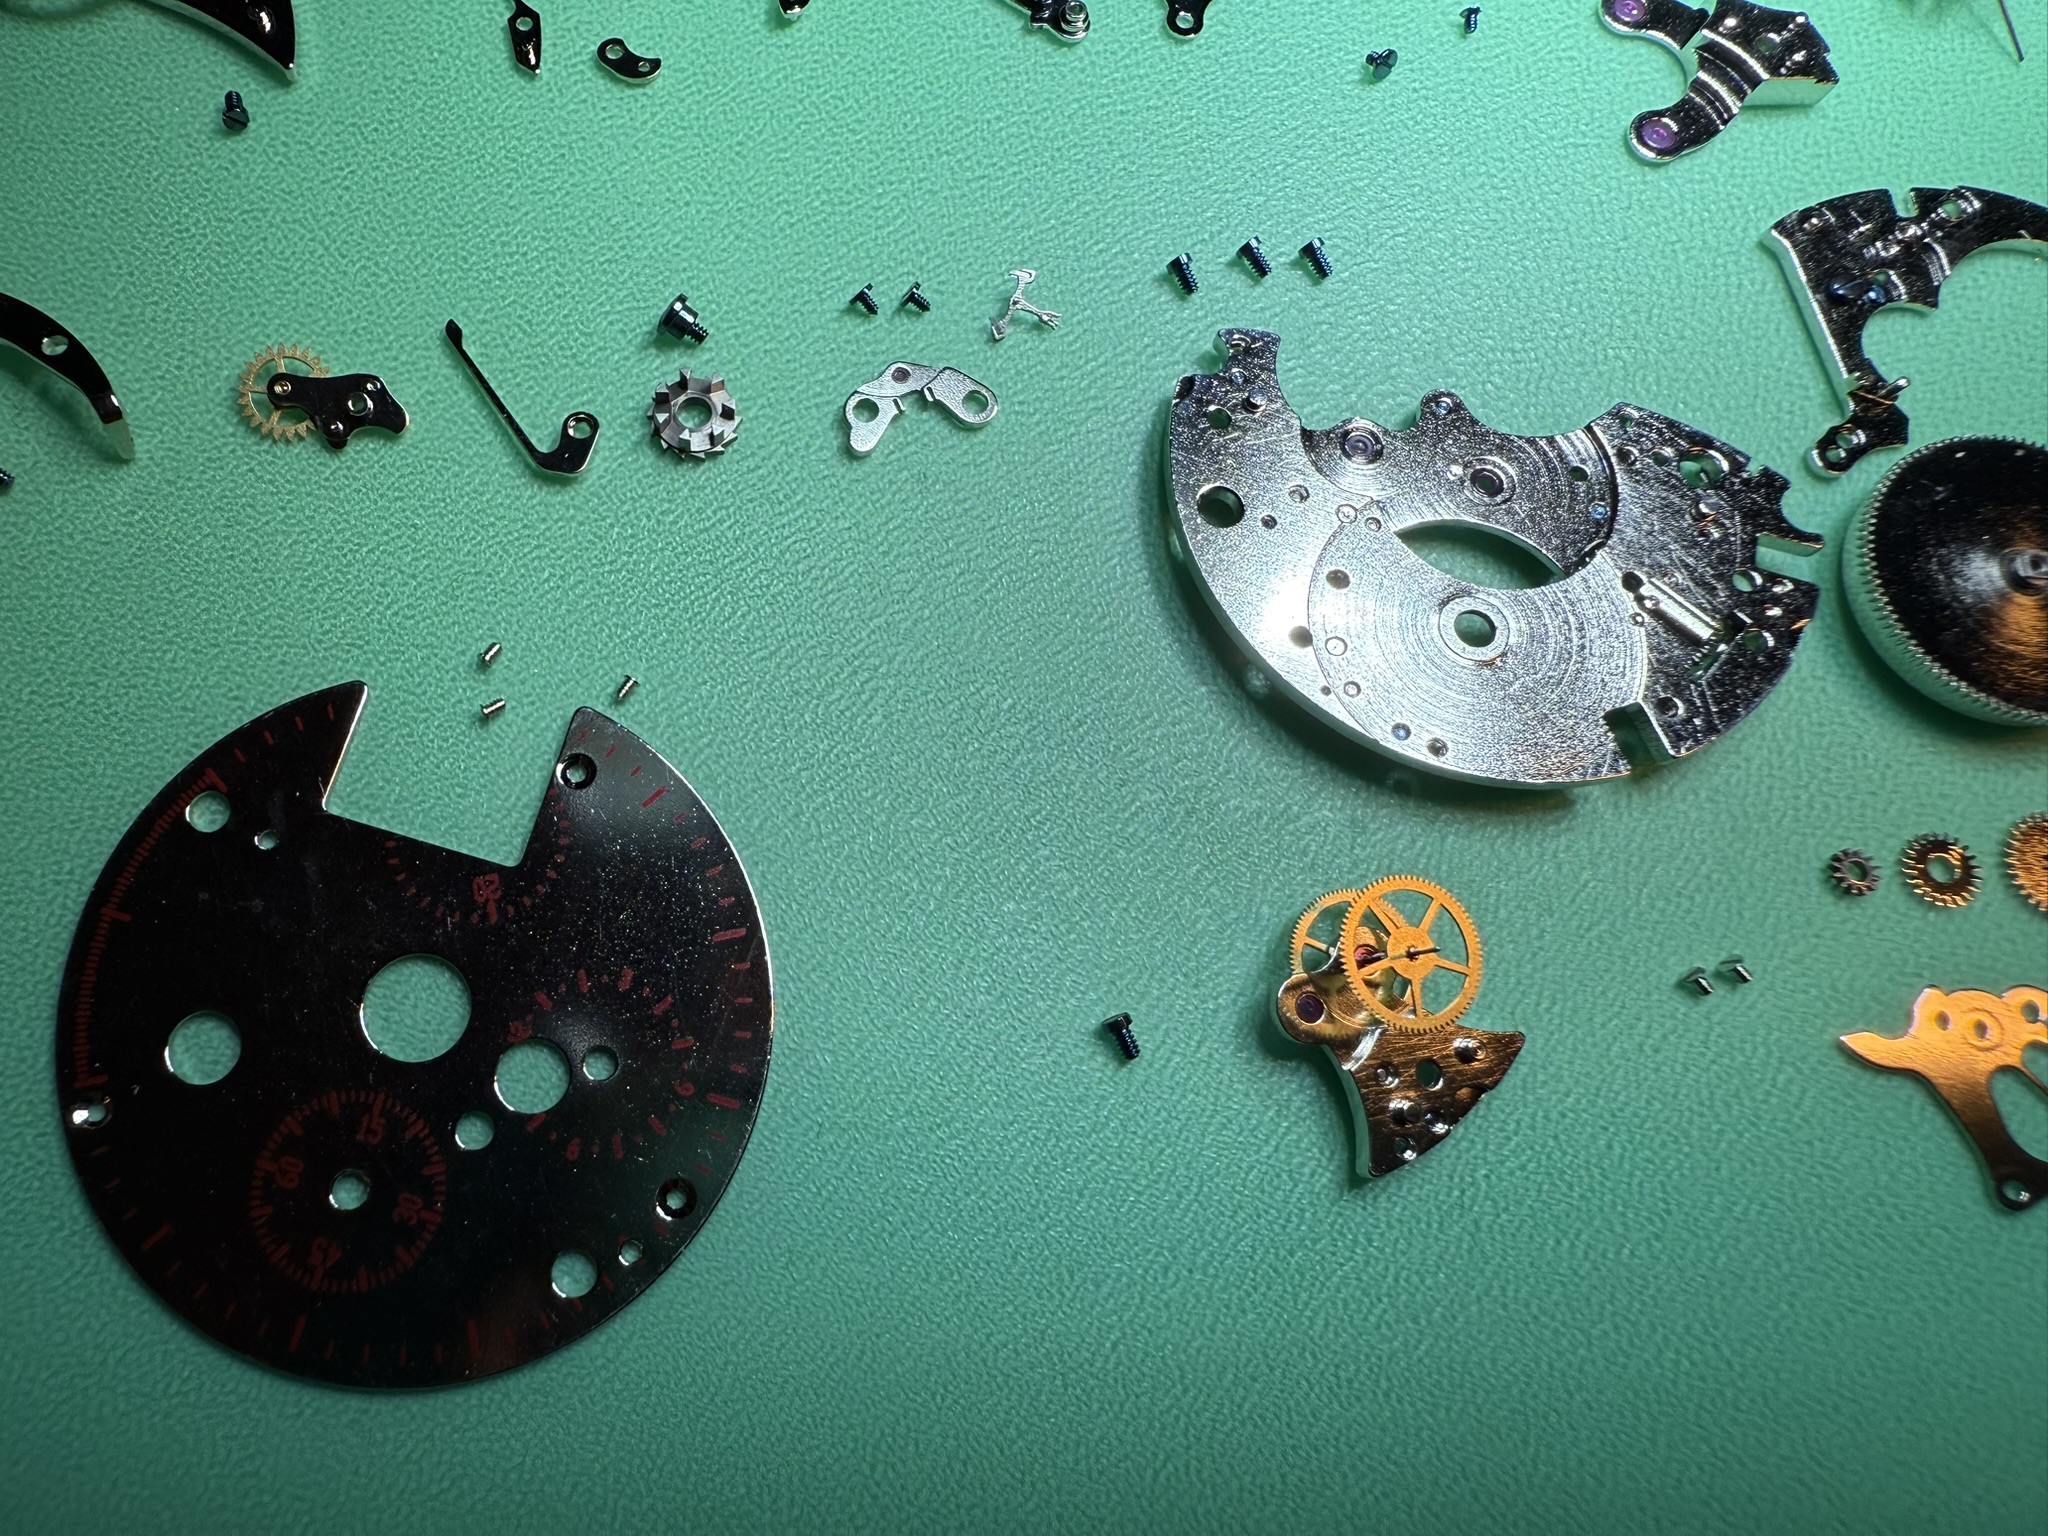
Reassembly
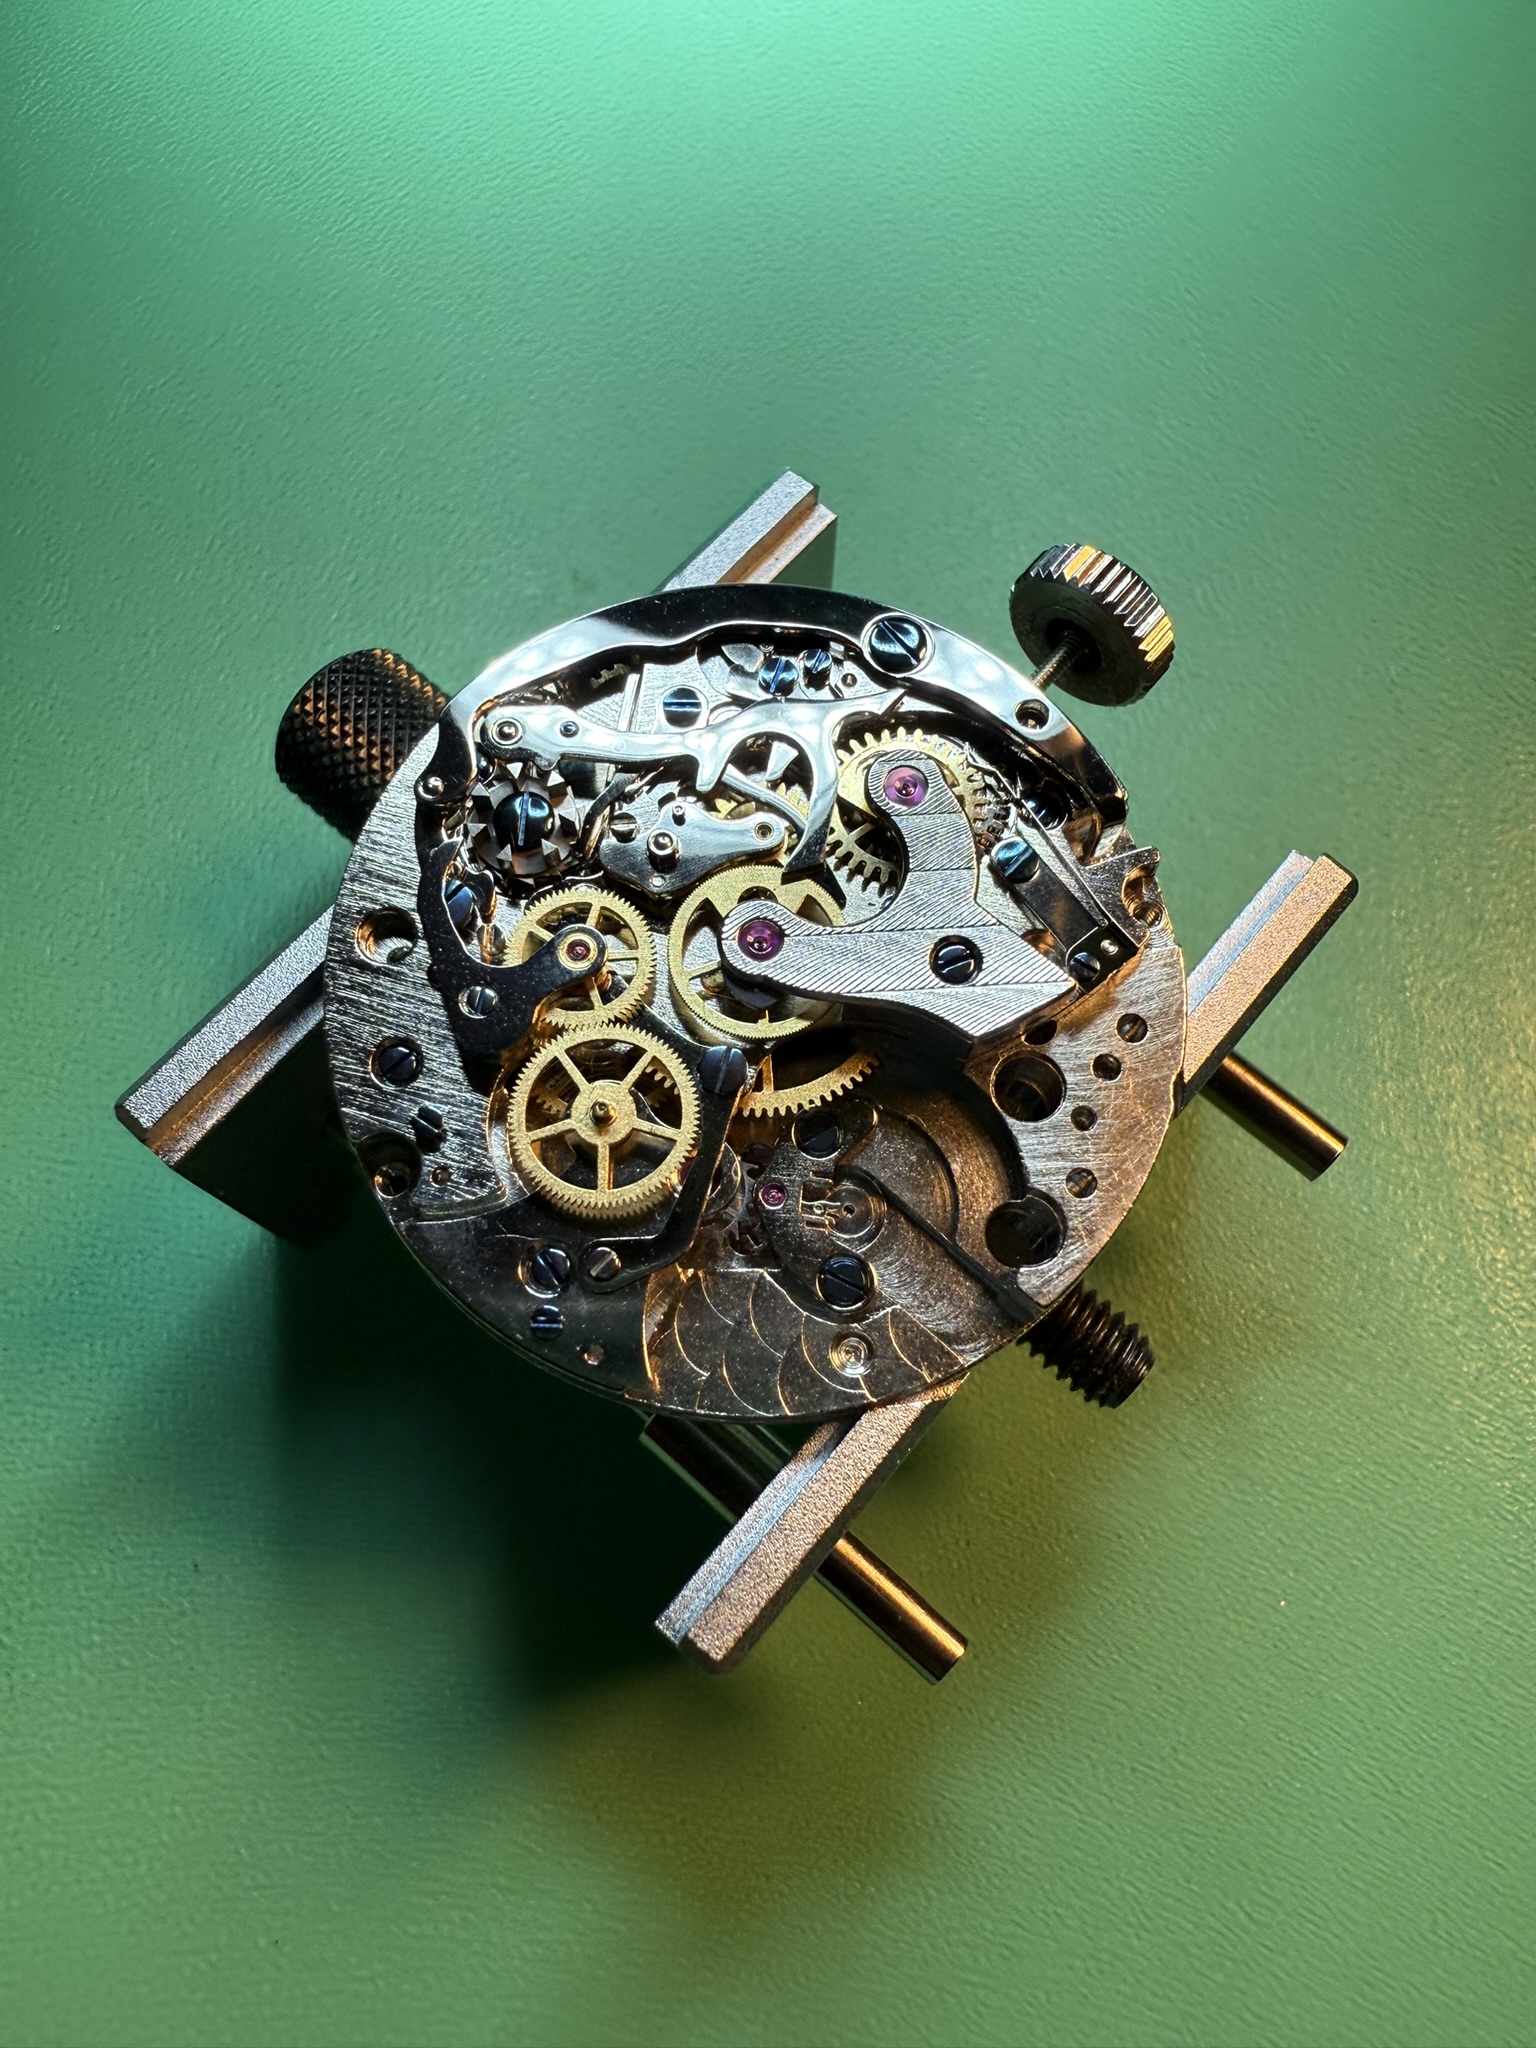
I've had a bit of a hiatus from watch repair, so I decided to rewatch Mark's course to refresh my memory on best practices. Here are my step-by-step notes for reassembling the ST1901 but should be a good starting point as a general reassembly guide.
Base movement
- Lubricate mainspring with 8200 and install into barrel
- Lubrcicate lower barrel arbor bearing with D5 and install into barrel
- Lubricate upper barrel arbor bearing and install barrel lid
- Place barrel into mainplate
- Fit fourth, third, center wheel
- Fit barrel bridge
- Fit escape wheel
- Fit train wheel bridge
- D5 on barrel arbor, center & third wheel
- 9010 on fourth wheel and escape wheel pivots
- Lubricate crown wheel friction points with D5
- Fit ratchet wheel, click and click spring
Chronograph assembly
General idea: build outwards starting with the chrono runners.- Fit chronograph runner wheel's friction spring
- 9010 on friction spring where the chrono seconds runner interfaces with it
- Fit chronograph plate to barrel bridge
- Install pillar / column wheel (D5 on base plate and the screw shoulder)
- 9010 on chrono runner wheel extended pivot and fork
- Install chronograph runner wheel
- Install minute recording runner DRY
- Install chrono wheel cock
- Lubricate runner wheel heart cams with D5 (slide oiler along cam)
- 9010 on chrono runner wheel's pivot
- D5 on the sliding gear post (engages with minute counting runner wheel)
- 9504 on column wheel ratchet
- Column wheel spring
- 9504 where the "dual purpose spring" interfaces with sliding gear
- Install "dual purpose spring", making sure prongs face upwards
- Grease the blocking lever where it touches the dual purpose spring
- Install blocking lever (slide underneath the dual purpose spring)
- Small qty D5 on the shoulder of the blocking lever's screw
- 9504 on three of the pillars of the column wheel to lube the blocking lever
- Install spring for "hammer bolt"
- 9504 on friction point (small post) on the hammer bolt
- Lubricate the shoulder of the hammer bolt's screw
- Loosely fit the bolt and nudge it into contact with the blocking lever
- D5 on the post for the flyback lever
- 9504 on friction point between flyback lever and the hammer bolt
- Fit the flyback spring, 9504
- Lubricate friction point of the long operating lever
- Install operating lever. Consider removing the large screw to make it easier.
- D5 on shoulder of operating lever screw, then insert
- 9504 on operating lever's "pawl" where it slides under the retaining screw mentioned earlier.
- 9010 on pivots of the coupling clutch
- Lubricate the lip of the coupling clutch (9504) where it slides under the retaining screw mentioned earlier.
- Fit the coupling clutch
- D5 on coupling clutch screw
- Fit operating lever spring with its riser
- 9504 on post where operating lever spring interfaces with operating lever pawl
- Secure operating lever spring
- 9504 on friction point between coupling clutch and (soon) spring
- Fit coupling clutch spring
- Replace driving wheel if necessary
- D5 on the return hammer's post
- Insert return hammer away from the runner wheels and rotate in until it's arrested by the return hammer bolt.
- Move the hammer bolt so the return hammer can push all the way into the runner heart cams.
- Fit the return hammer spring lightly
- 9504 on friction point between spring and hammer
- Manoeuver spring underneath the return hammer and tighten screw
- Final lubrications: 9504 on the post of the sliding gear that interfaces with return hammer
- Final lubrications: D5 on eccentrics (there are two)
Dial side
- D5 on center wheel jewel, barrel arbor bearing, third wheel
- 9010 for fourth wheel and escape wheel
- D5 on minute wheel and setting wheels
- 9504 on center wheel arbor for canon pinion
- 9504 on winding pinion, clutch wheel and winding stem
- Insert winding stem
- Setting lever post with 9504
- 9504 on grease on top of setting lever post
- Fit setting lever
- 9504 on friction point of setting lever spring
- 9504 in recess of clutch wheel
- D5 on post of the yoke
- Fit yoke
- 9504 on yoke friction points
- Fit yoke spring
- Fit canon pinion, minute wheel and setting wheels
- Fit setting lever spring and grease friction points
Finishing
- Verify the free running of the base movement and the chrono
- Install pallet fork
- Install balance
- Lubricate balance wheel jewels
- D5 on canon pinion, install hour wheel and washer
- Continue with date wheels if applicable
- Fit dial side plate